


If you’re trying to remove, uninstall or completely reinstall the Vim text editor and its settings on your Windows, macOS or Linux (Ubuntu) machine, this simple guide provides the steps to achieve this. Read on!
Vim is a free and open-source text editor that is available on Windows, Linux, and macOS. It can be used for many different purposes including programming, note-taking, and more.
Additionally, Vim is also known for its efficiency and is easily customizable which makes it a go-to text editor option and a strong competitor for being one of the best editors available.
However, the Vim editor may experience problems, show errors, or may not be installed correctly. In this case, it may be worth it to completely uninstall and reinstall Vim on your workspace.
That being said, in this guide, we’ll go over how to uninstall Vim and its settings on Windows, Linux, and macOS devices. We will also cover how to reinstall Vim on the aforementioned operating systems to ensure that a new and fresh version is being used.
Table of Contents
Steps to Uninstall and Reinstall Vim on Windows
Uninstalling Vim on Windows
For Windows devices, we will be going through two ways to uninstall vim. The first way involves uninstalling vim through Apps and Features and the second way involves uninstalling vim through the vim uninstaller located in the installation folder in the form of an executable.
Method 1: Through the Apps and Features Menu
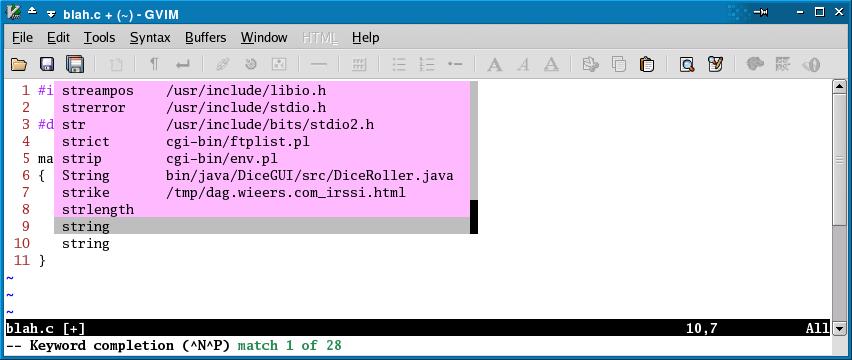
- First, search for apps and features in the windows start menu and open it.
- Next, enter vim in the search bar and click on the 3 dots located on the right side. From the drop-down, click Uninstall.

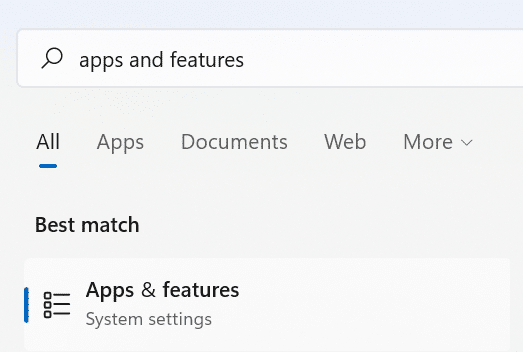
- A small pop=up will appear. Here, click Uninstall.
- The vim uninstaller will open and click Next.

- Finally, select the components you wish to uninstall and click Uninstall.
Method 2: Using the Vim Uninstaller File
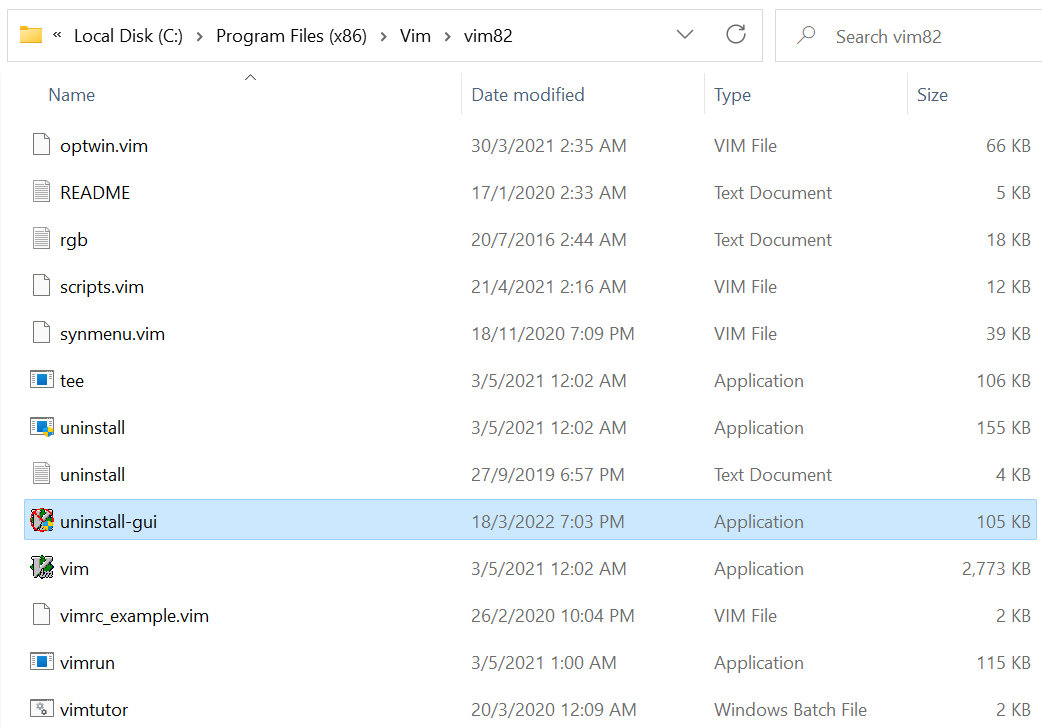
- First, head to the vim installation location. It is most commonly located in:
C:\Program Files (x86)\Vim\vim82
- After that, scroll down the folder and click on the uninstall executable file.
- The following window will appear. Here, click Next. After that, the subsequent steps to uninstall are the same as the first method where you simply follow the steps of the uninstaller wizard.
Reinstalling Vim on Windows
In order to reinstall Vim on your Windows workspace:
- For starters, head to vim.org and click the Download button from the sidebar on the left.

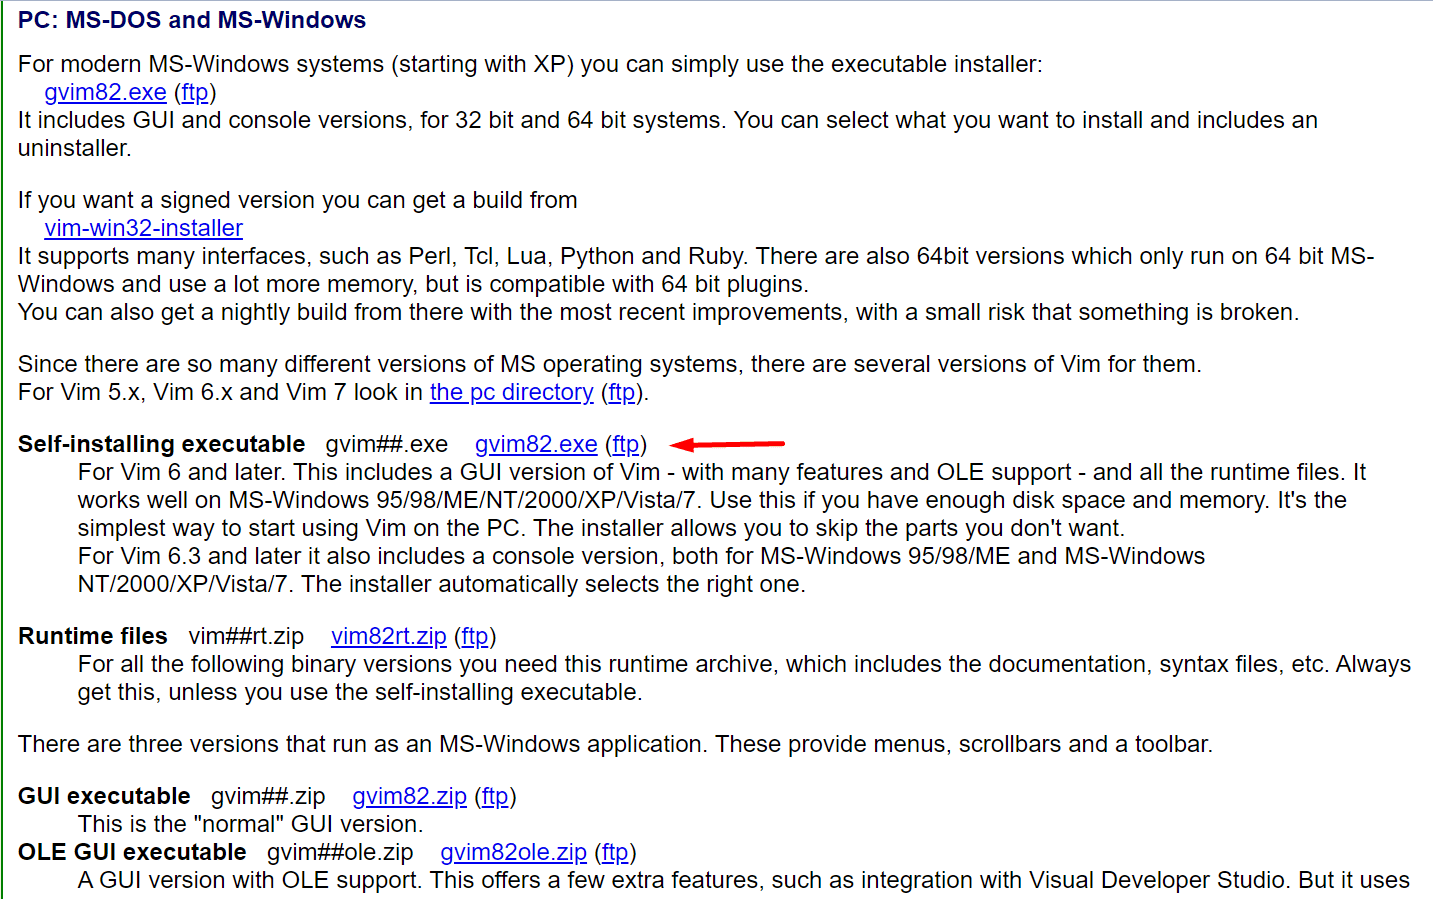
- Select the PC-MS-DOS and MS-Windows option.

- You will then be shown a few different installation options. Here, select the self-installing executable option.
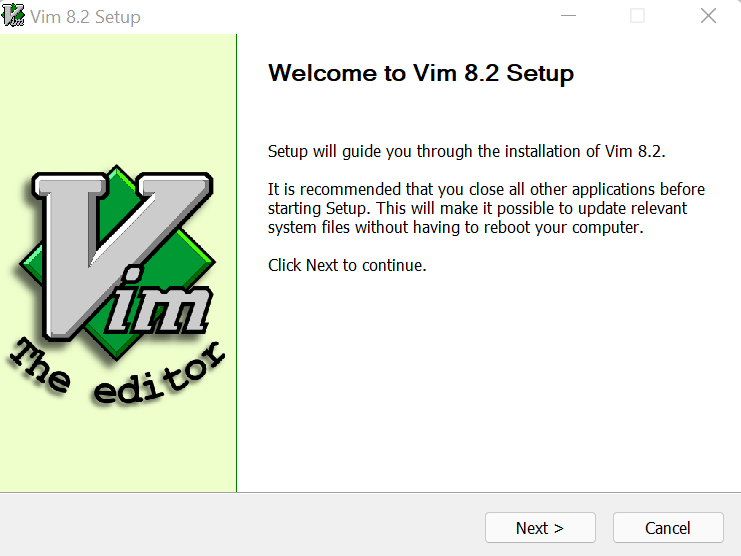
- Open the .exe file once it has been downloaded to begin the installation process and click Next.
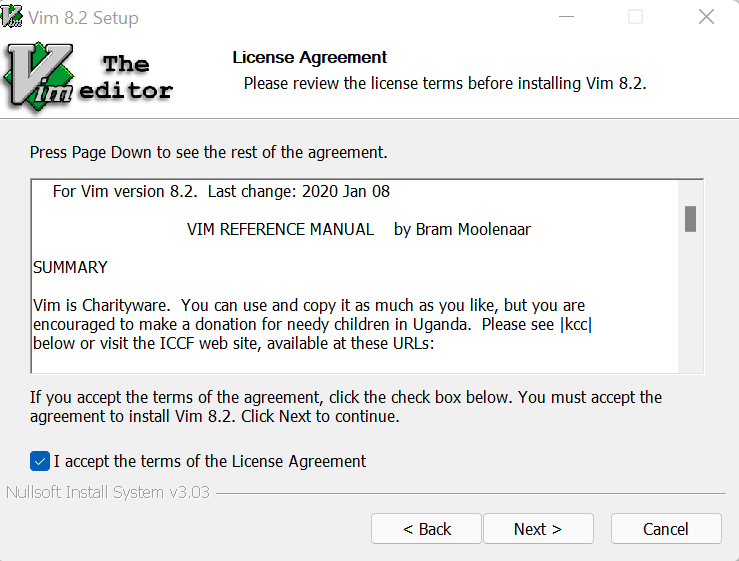
- Subsequently, accept the terms and conditions.
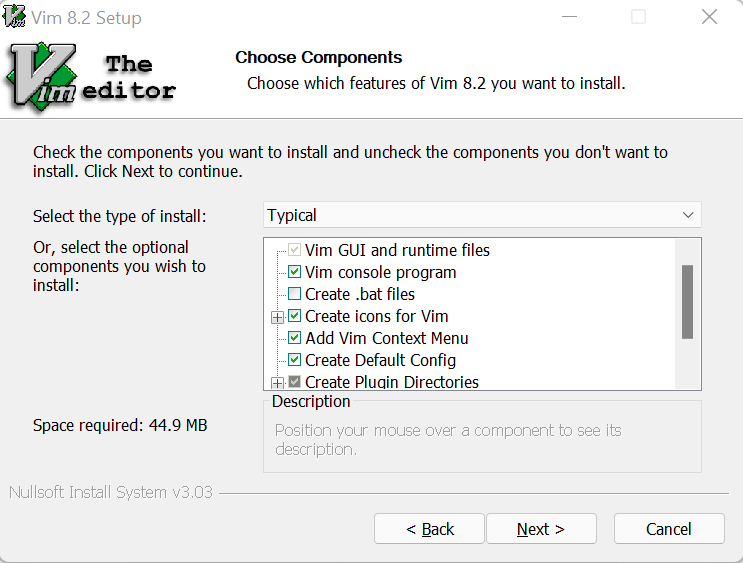
- Then, the next step involves selecting your preferred install from the drop-down menu and checking the components you want in the list below.

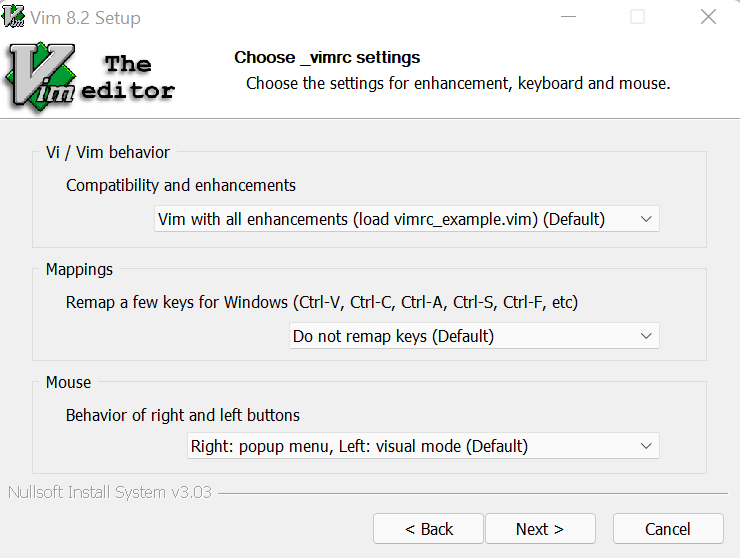
- Next, you can also choose the compatibility and enhancements for the behaviour of Vim and you can also remap the keyboard and mouse keys to your preference.
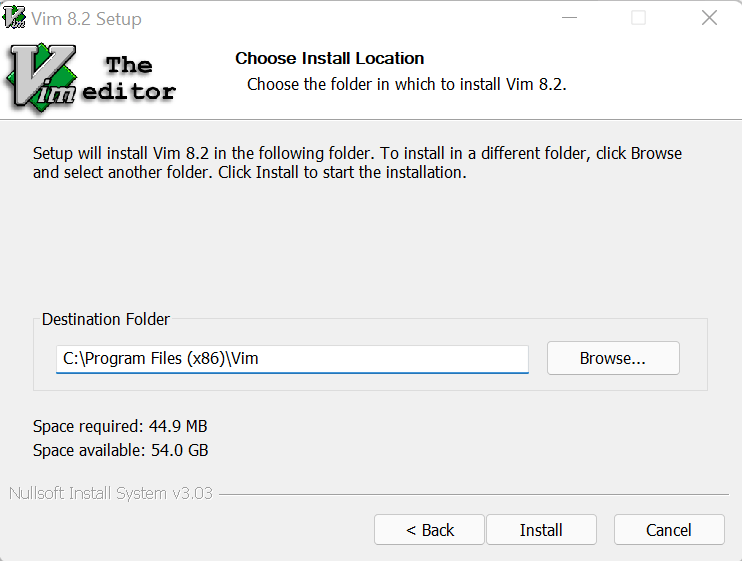
- The final step is to select the installation location. Once selected, proceed to click Install.
Once Vim has been installed, we can test it by:
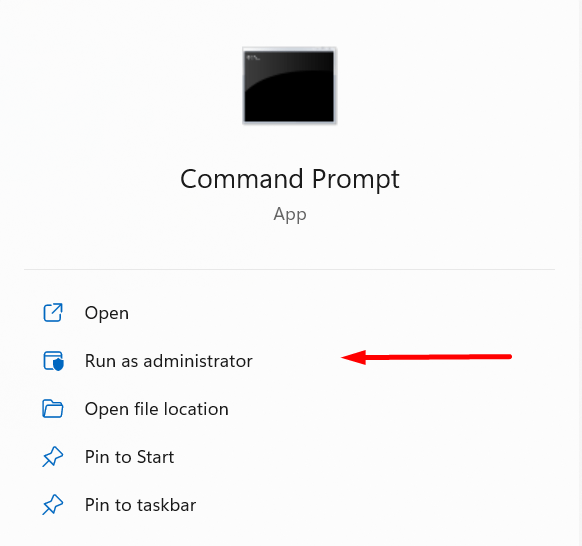
- First, open the Command Prompt as an Administrator.
- Then, navigate to the directory where your version of Vim is installed. In our case and Vim is usually located in:
C:\Program Files (x86)\Vim\vim82.
- After that, enter vim test.txt and a vim terminal should open.
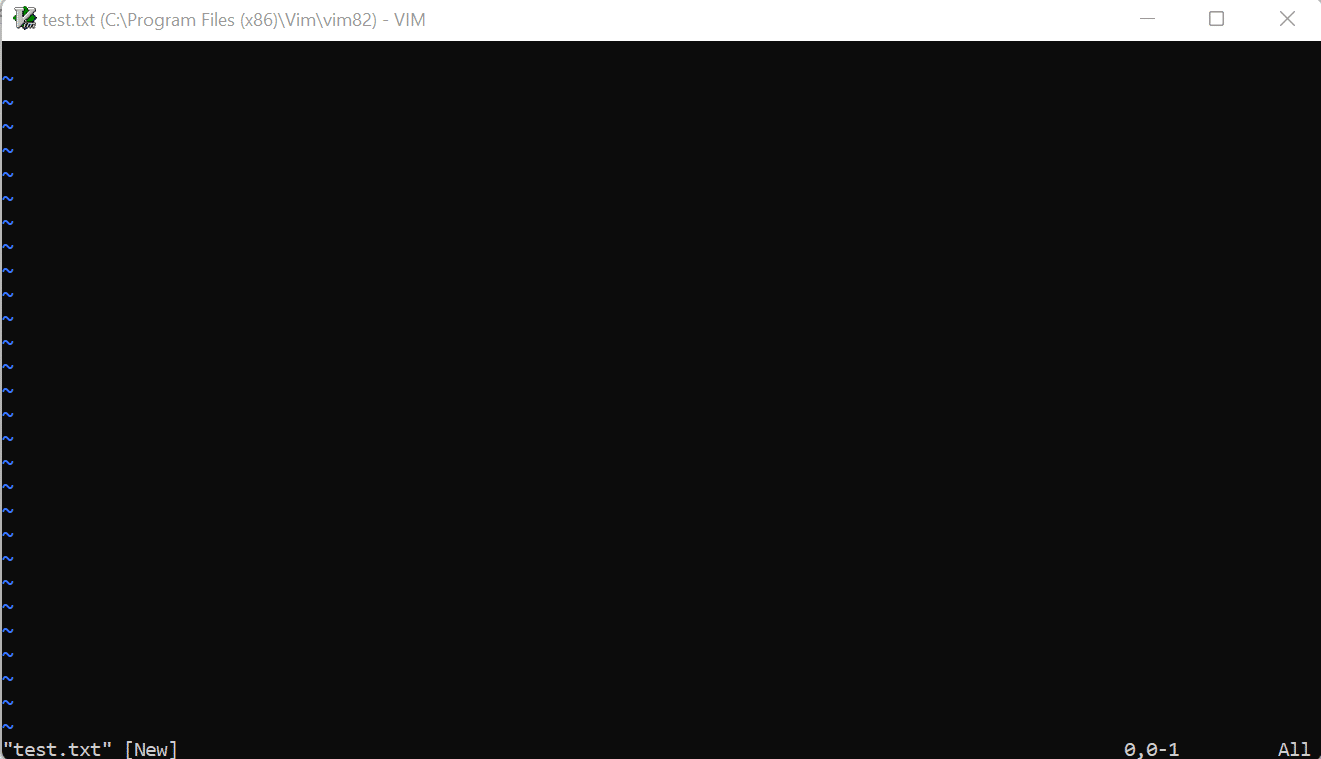
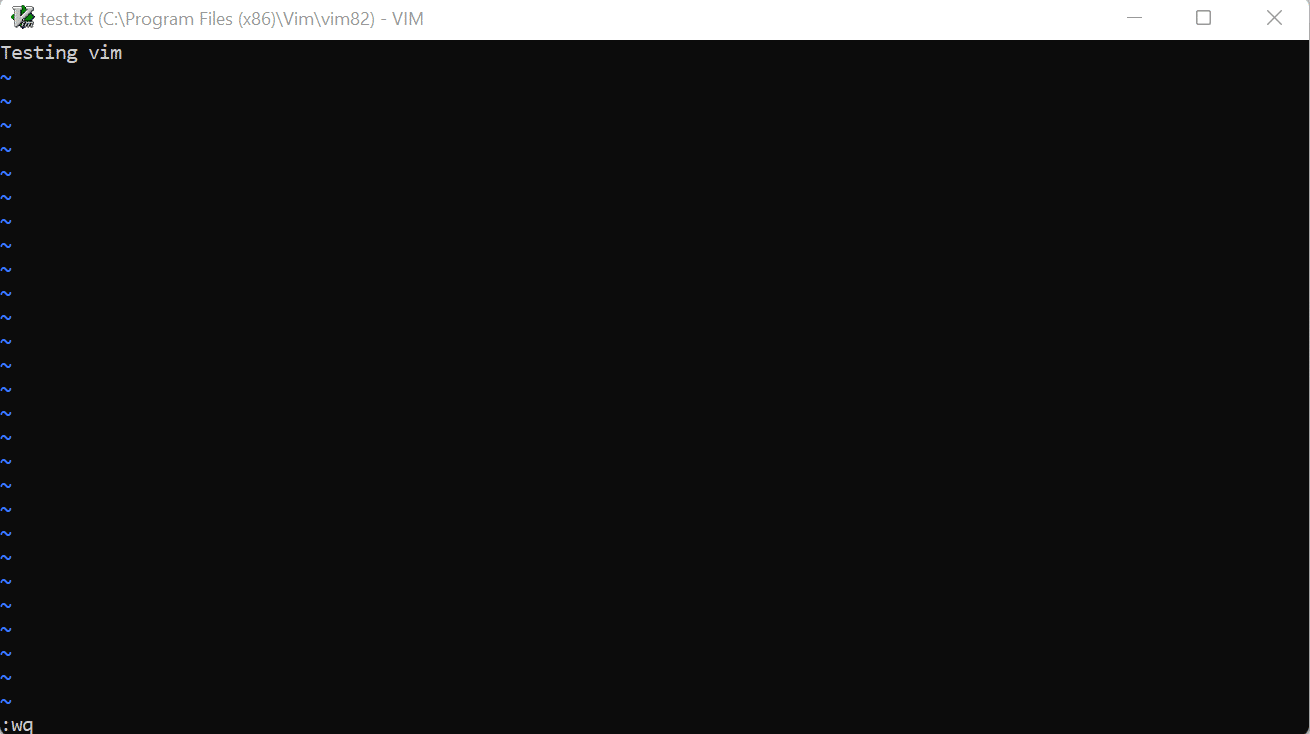
- Press the i key to enter insert mode and start typing. Once we’ve finished writing, hit the esc key to enter command mode, and then :wq and enter to save and close the file.
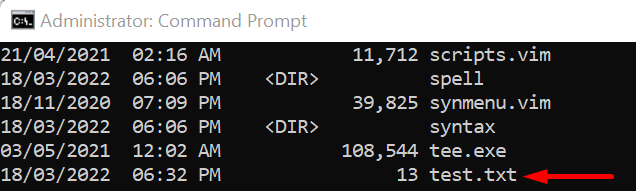
- This should bring you back to the Command Prompt terminal. So finally, Enter dir to see the contents of the directory and you should see your vim file which you just created.
Steps to Uninstall and Reinstall Vim on Linux
Uninstalling Vim on Linux
In order to uninstall Vim together with its configuration files and dependencies on an Ubuntu machine:
- First, open the Terminal and enter:
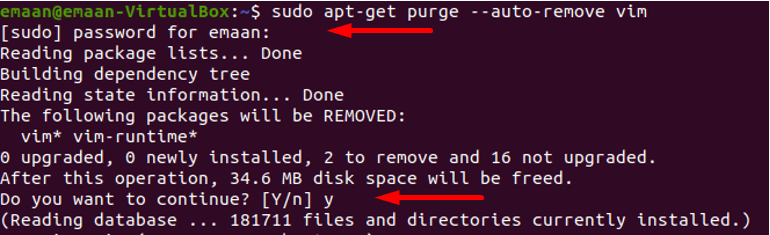
sudo apt-get purge --auto-remove vim
- After that, enter your password if prompted and y to confirm the uninstallation.
- Finally, confirm that vim has been uninstalled by entering dpkg –s vim. The result should be similar to below:

Reinstalling Vim on Linux
To reinstall Vim on an Ubuntu Linux machine:
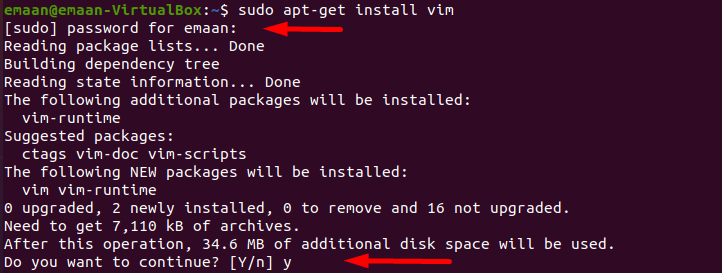
- First, open the terminal and enter sudo apt-get install vim. Enter your password if prompted and y to confirm the installation.
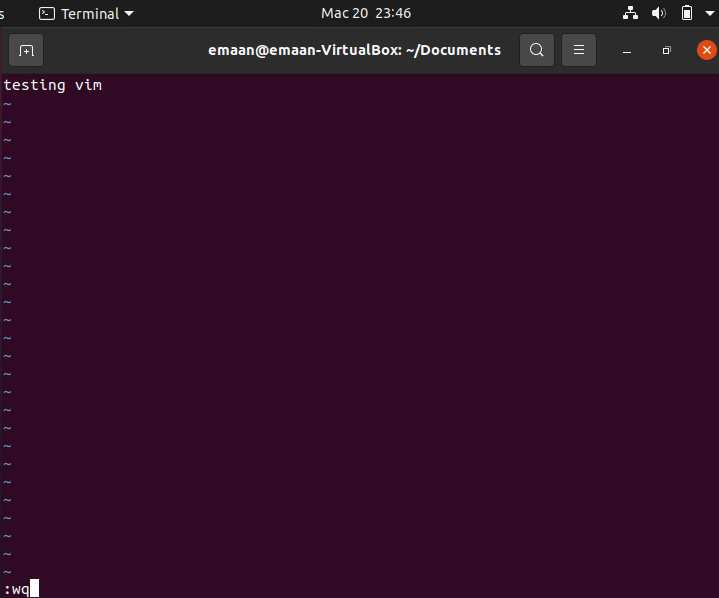
- After that, we can test if Vim is working by entering the following command in the terminal:
vim [filename].txt
![]()
- Then, Vim should open. Here, press i to enter insert mode and start typing. Once done, press esc to return to command mode, type :wq and then enter to exit the file.
- If we enter cat test.txt in the Terminal, we can read the text file that we just created with vim.
![]()
Steps to Uninstall and Reinstall Vim on macOS
Uninstalling Vim on macOS
In order to completely uninstall Vim on a macOS machine:
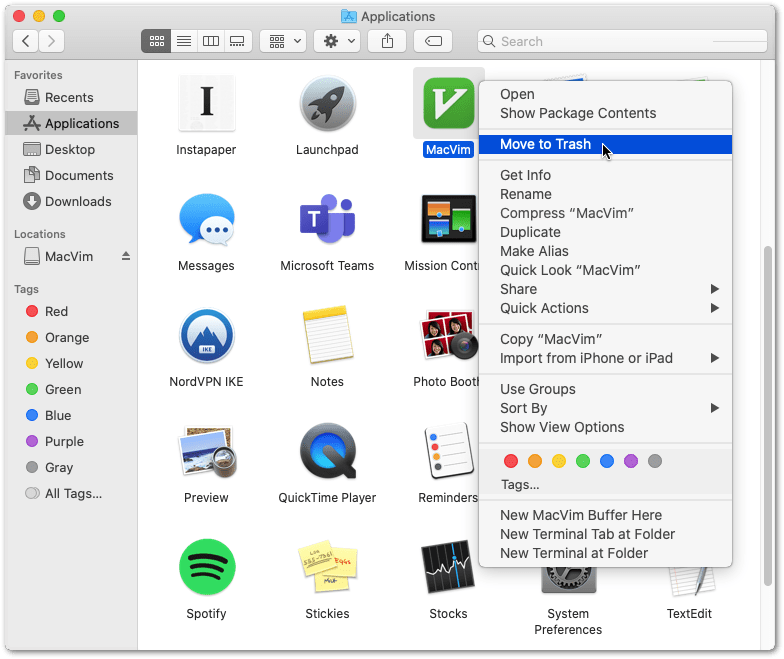
- First, using Finder, head to the Applications folder and locate the MacVim.app file.
- After that, right-click on the file and select the Move to Trash option.
Next, to delete Vim’s service files:
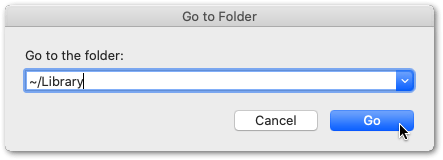
- From the Finder menu bar at the top of your screen, select Go and then select Go to Folder from the drop-down menu.
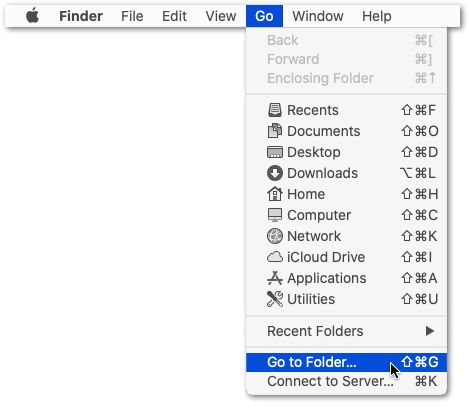
- Following that, enter ~/Library in the box that appears and click Go.
- Next, delete the Vim service files from the following directories:
- ~/Library/Preferences/org.vim.MacVim.plist
- ~/Library/Saved Application State/org.vim.MacVim.savedState
- Based on your utilization of Vim, you can also look at the following directories in Library to see if there are any unnecessary files to delete.
- ~/Library/Caches
- ~/Library/Logs
- ~/Library/Application Support
- Finally, empty the Trash bin.

With that done, Vim should be completely uninstalled from your macOS machine!
Reinstall Vim on macOS
Before installing Vim, ensure that Homebrew is installed on your macOS machine as we will be using it to install Vim.
- First, open a Terminal and enter the following command:
brew install vim
- Once Vim has been installed, verify that it is installed correctly by entering:
Vim
- You can now close vim by hitting the esc key, type :q, and then hit Enter.
Conclusion
Uninstalling and reinstalling Vim can be somewhat tricky at first but it is straightforward once you know the steps that need to be taken.
Some may want to completely uninstall and reinstall Vim on their machine to restart fresh, fix an installation or application error, or they may want to switch to a different text editor altogether. Whatever the reason is, this is the perfect guide for you!
In this article, we looked at how to completely uninstall and reinstall the Vim editor on Windows, Linux, and macOS.
With that said, we hope you’ve found this guide helpful when it comes to uninstalling and reinstalling Vim.
Feel free to share this post with your fellow Vim users to guide them through uninstalling and reinstalling Vim.