


Are you looking for solutions to add a bounding box to an image in Python using OpenCV?
If yes, then you are at the right place. In this article, we’ll explain how to add a bounding box on an image in Python. Python is used by millions of people across the globe for software development, data analysis and visualization, and automation. In this article, we’ll discuss how to add a bounding box to an image using Python.
Let’s talk about the Bounding Boxes objects in Python. They are axis-aligned rectangles. Now you must be wondering what axis-aligned rectangles are. Axis-aligned rectangles are closed shape type rectangles in planar, and they have two main points representing their maximum and minimum coordinates, as shown below.
Bounding boxes worked as standalone shapes and are mainly used for complex shapes to quicken the process, e.g., intersection and containment checks. Those shapes which are defined by planar must have bounding box properties. These attributes help in getting the complete shape.
Table of Contents
How to Draw or Add a Bounding Box to an Image in Python?
The bounding box image must be a Tensor torch of size [N, 4]. Do you know what N represents here? “N” defines the bounding box numbers which need to be added. Every box must have four main points i.e. xmin, xmax, ymin, ymax. It follows a proper format that is given below:
W > xmax > xmin >= 0
H > ymax > ymin >= 0
What Are the Properties of Bounding Box?
- Width (W): It defines the width of a bounding box across the x-axis.
- Height (H): It defines the height of a bounding box across the y-axis.
- min_point: It defines the x and y axis point with the minimum value.
- max_point: It defines the x and y axis point with the maximum value.
- center: It defines the bounding box center point.
- bounding_box: This attribute defines whether there is an echo.
- is_empty: This property is true when the bounding box has zero areas.
You might already know that bounding boxes are obtained from other shapes and are unchangeable. If you are using its attributes, you cannot directly modify it. (emoji) Furthermore, you can not even modify its operations directly. You can transform a share by multiplying bounding boxes. So, the result will depend on the transformation you did.
What Are the Steps to Add a Bounding Box to an Image in OpenCV?
The following steps are needed for adding a bounding box to an image in OpenCV using Python:
- First, we’ll install OpenCV into our machines using the famous pip command as follows; pip install opencv.
- Next, we’ll import the library into our current Python program using the import keyword. Further, we’ll read the image using a valid address to the image.
- Then, before applying the threshold, convert the image to grayscale.
- After this, apply the threshold.
- Find out the contours for the shapes or objects available in the image.
- After this, use these contours to add a bounding box to the image.
Let’s understand it further using a code example:
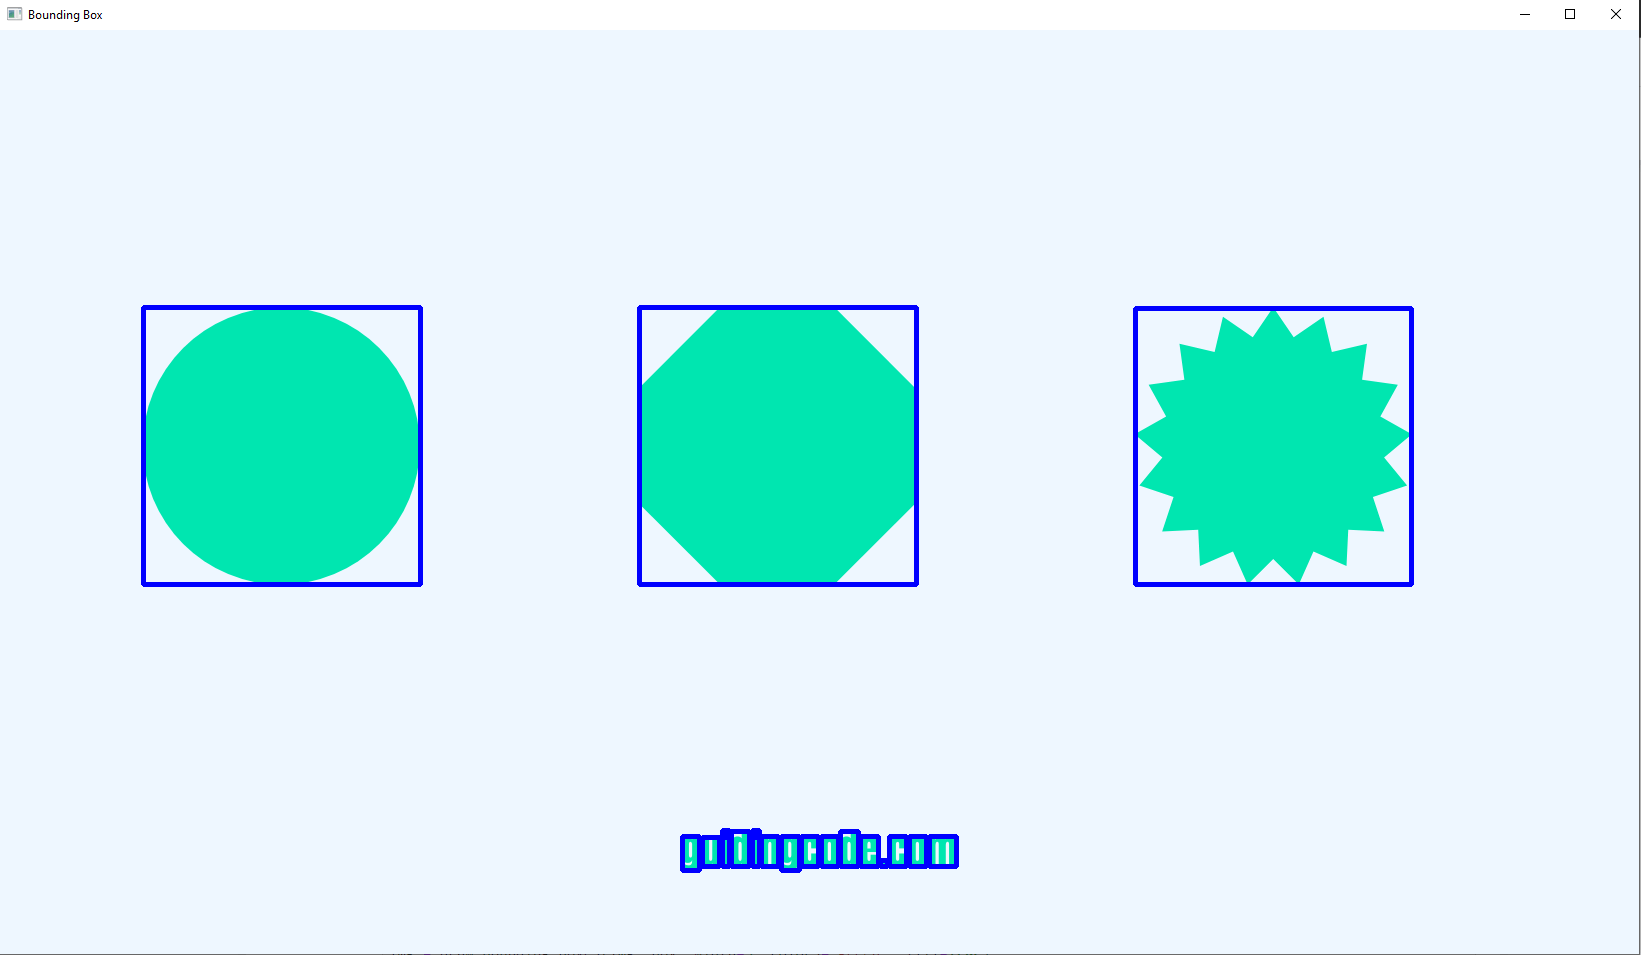
Let’s say we have an image having three shapes, and we want to add bounding boxes to the shapes in the image.

Code
# bounding an image border

import cv2'


image = cv2.imread("image.png")

gray_image = cv2.cvtColor(image, cv2.COLOR_BGR2GRAY)

thresh_image = cv2.threshold(gray_image, 0, 255, cv2.THRESH_BINARY_INV + cv2.THRESH_OTSU)[1]
contours = cv2.findContours(thresh_image, cv2.RETR_EXTERNAL, cv2.CHAIN_APPROX_SIMPLE)

contours = contours[0] if len(contours) == 2 else contours[1]


for i in contours:

 x,y,w,h = cv2.boundingRect(i)

 cv2.rectangle(image, (x, y), (x + w, y + h), (255,0,0), 4)


cv2.imshow('Bounding Box', image)

cv2.waitKey(0)

cv2.destroyAllWindows()
Output
Conclusion
This article provides a detailed discussion on how to add a bounding box on an image using Python. We have provided a solution to users So they can add a bounding box over an image using OpenCV.
Here is a quick recap of the topics we’ve covered in the article above:
- What is the bounding box?
- How do you add a bounding box to an image in OpenCV using Python?
- Bounding Box properties
Did you find this helpful? Don’t forget to share it with your friends if they are stuck on adding a bounding box to an image using Python.