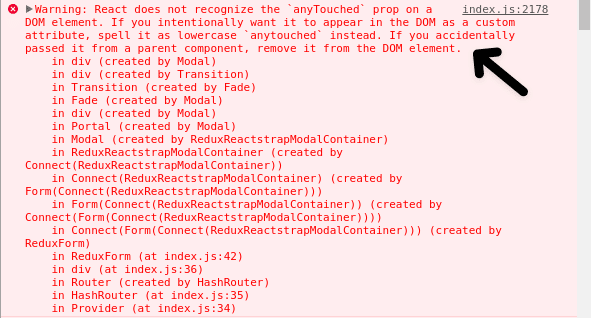
Document Object Models (DOM) are an amazing way to access and manipulate a webpage easily, however, there are times when React does not recognize a DOM element, hence showing the “React does not recognize the ‘X’ prop on a DOM element” message, with x being any DOM attribute/property, and there are some reasons for that, so that it can easily be fixed.
In simple terms, a DOM element is an object that represents an HTML or XML tag, such as <div>, <p>, or <img>, that can be accessed and manipulated using JavaScript. Each DOM element has properties and methods that can be used to modify its attributes, styles, content, and behavior.
React, on the other hand, is a popular open-source JavaScript library for building user interfaces. It functions by building the Virtual DOM, a virtual user interface version.
React determines the minimal modifications necessary to update the actual DOM after updating the Virtual DOM in response to UI changes. Performance is enhanced, and the number of updates needed is reduced thanks to this method.
In this article, I will go over all the possible solutions you can go through to fix React not recognizing your prop on a DOM element.
Table of Contents
4 Fixes for the “React Does Not Recognize the ‘X’ Prop on a DOM Element” Error
1. Valid Prop Usage
In React, you can use JSX to create elements corresponding to HTML tags. These tags have a predefined set of attributes known as props. The HTML specification determines the props available for each tag, and all tags support not all props.
For example, the disabled prop is only valid for certain HTML elements, such as buttons, input fields, and select boxes. If you try to use the disabled prop on a <div> element, React will not recognize the prop, and you will see an error.
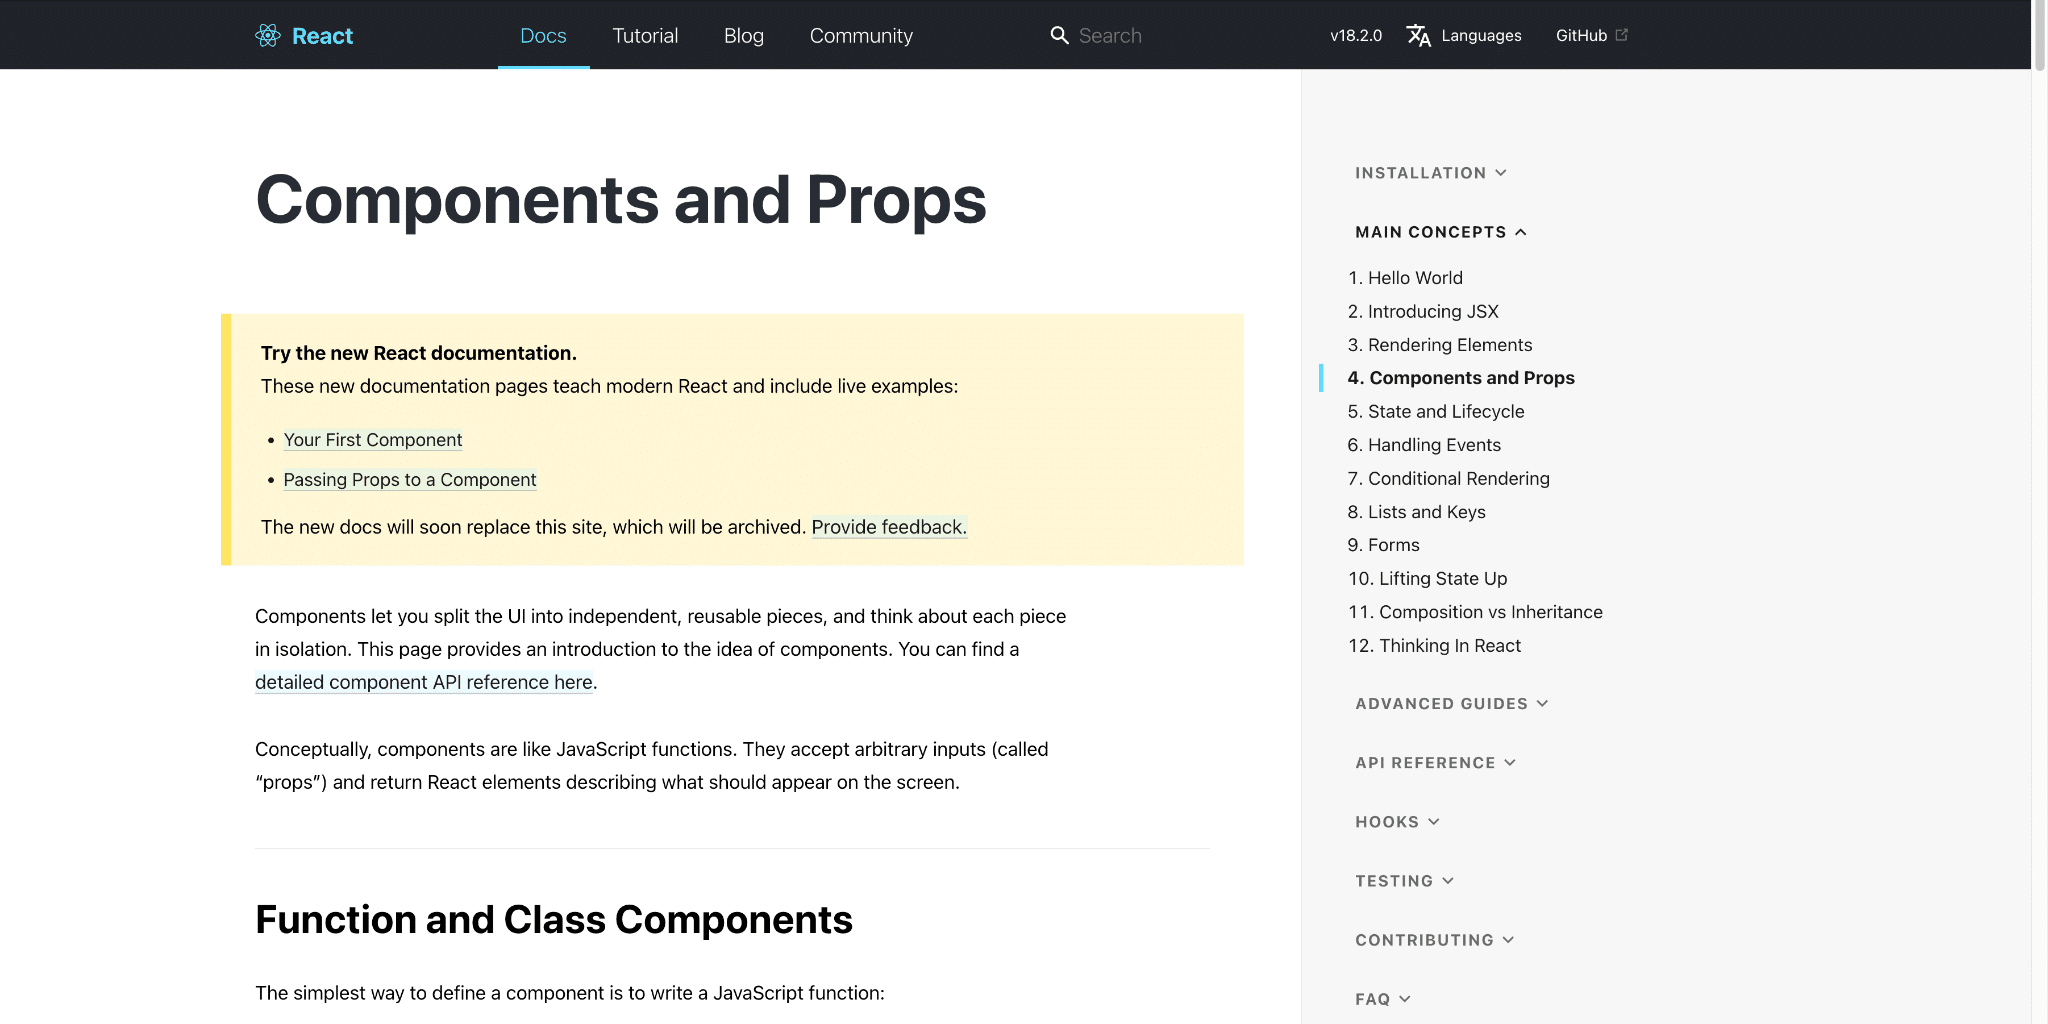
Therefore, before using a prop with an HTML tag in React, referring to the React documentation is important to check which props are valid for a particular HTML tag. The documentation will provide a list of all the props that can be used with each HTML tag, as well as their data types and default values.
If you need to use a prop that is not supported by a particular HTML tag, you can create a custom component that wraps the HTML tag and adds the necessary functionality. For example, you could create a custom <Button> component that wraps the <button> HTML tag and adds a disabled prop.
An example would be:
function Button(props) {
 return <button disabled={props.disabled}>{props.children}</button>;
}
In this example, the <button> component accepts a disabled prop, which is then passed to the <button> element as the disabled attribute. The children prop is used to render any child elements that are passed to the component.
By checking which props are valid for each HTML tag, and creating custom components when necessary, you can ensure that your React code is free from errors related to unsupported props.
You can check out the React documentation for valid props here.
2. Pass the Prop Correctly
In React, props are passed as key-value pairs to child components. If you pass a prop to a DOM element, you must use curly braces {} to wrap the prop value. For example, if you want to pass a prop called className to an <div> element, you would do it like this:
<div className={'my-classname'}>Content</div>
In this example, the prop className is passed to the <div> element, with a value of my-classname. The curly braces are used to tell React that my-class is a JavaScript expression that needs to be evaluated rather than a string that should be interpreted literally.
If you forget to wrap the value in curly braces or use single quotes instead of curly braces, React may not recognize the prop, and you will see an error.
3. Check the Spelling and Capitalization of the Prop Name
Due to the case sensitivity of the React framework, even minor variations in the spelling or capitalization of element or prop names can result in mistakes. So, it is crucial to check that the element and prop names are spelled correctly and capitalized.
For example, if you are trying to pass an src prop to a <img> tag, you must spell it as src, with all lowercase letters. If you spell it as ‘Src’, ‘SRC’, or any other variation with different capitalization, React will not recognize the prop, and you will see an error.
In addition to spelling and capitalization, using the correct prop name for the HTML tag is also important. React has a set of predefined props that are valid for specific HTML tags. For example, the src attribute is valid for the <img> tag but not for the <div> tag. Similarly, the href attribute is valid for the <a> tag but not for the <div> tag.
Therefore, before using a prop with an HTML tag in React, referring to the React documentation is important to check which props are valid for a particular HTML tag. The documentation will list all the props that can be used with each HTML tag and their data types and default values.
4. Restart the Developmental Server
When you manage a React project, you usually launch a development server that monitors your code for modifications and recompiles the application as you make them. Thanks to the development server’s hosting on a local port, your application can be accessed and used in your web browser.
If React does not recognize a prop on a DOM element, there is probably an issue with the built code being served by the development server. This may occur if the code was not correctly compiled or an issue-causing cache of previous code exists.
By restarting the development server, you force React to recompile your code from scratch and serve a fresh version of the application. This can help to resolve issues related to incorrect or outdated code.
Conclusion
All the solutions described above will help you troubleshoot why React does not recognize the prop on a DOM element. Most of these solutions should fix your issues, and your extension should run quickly.
Lastly, let us know in the comments:
- Were you also unable to fix issues with your React code?
- Did any of the solutions work for you?
- Is there any missed solution you would like to add to the list?
Feel free to share this article with any of your fellow developers!


