


Is your Visual Studio Code Live Server not working, updating or showing up correctly? Are you finding that any changes you are making to your code are not being updated in your browser?
Visual Studio Code Live Server is an amazing Visual Studio Code extension that allows you to set up a local development server for web development projects.
With Live Server, you can instantly run a web server from within VS Code and preview your web pages in a browser with real-time reload functionality. This ensures that any changes you make to your code are automatically and without a user’s intervention refreshed in the browser.
Due to this feature, it is understandable for you as a developer to be running into this issue.
Therefore, we have made a guide for you that goes over eight solutions that you can try to fix your Visual Studio Code Live Server not updating.
Table of Contents
8 Fixes for Visual Studio Code Live Server Not Working, Showing, or Updating
1. Check Your Internet Connection
An internet connection is integral to having the Live Server extension work properly. The reason for that is it needs to load external scripts and stylesheets. It also needs to access any APIs you have used in your code.
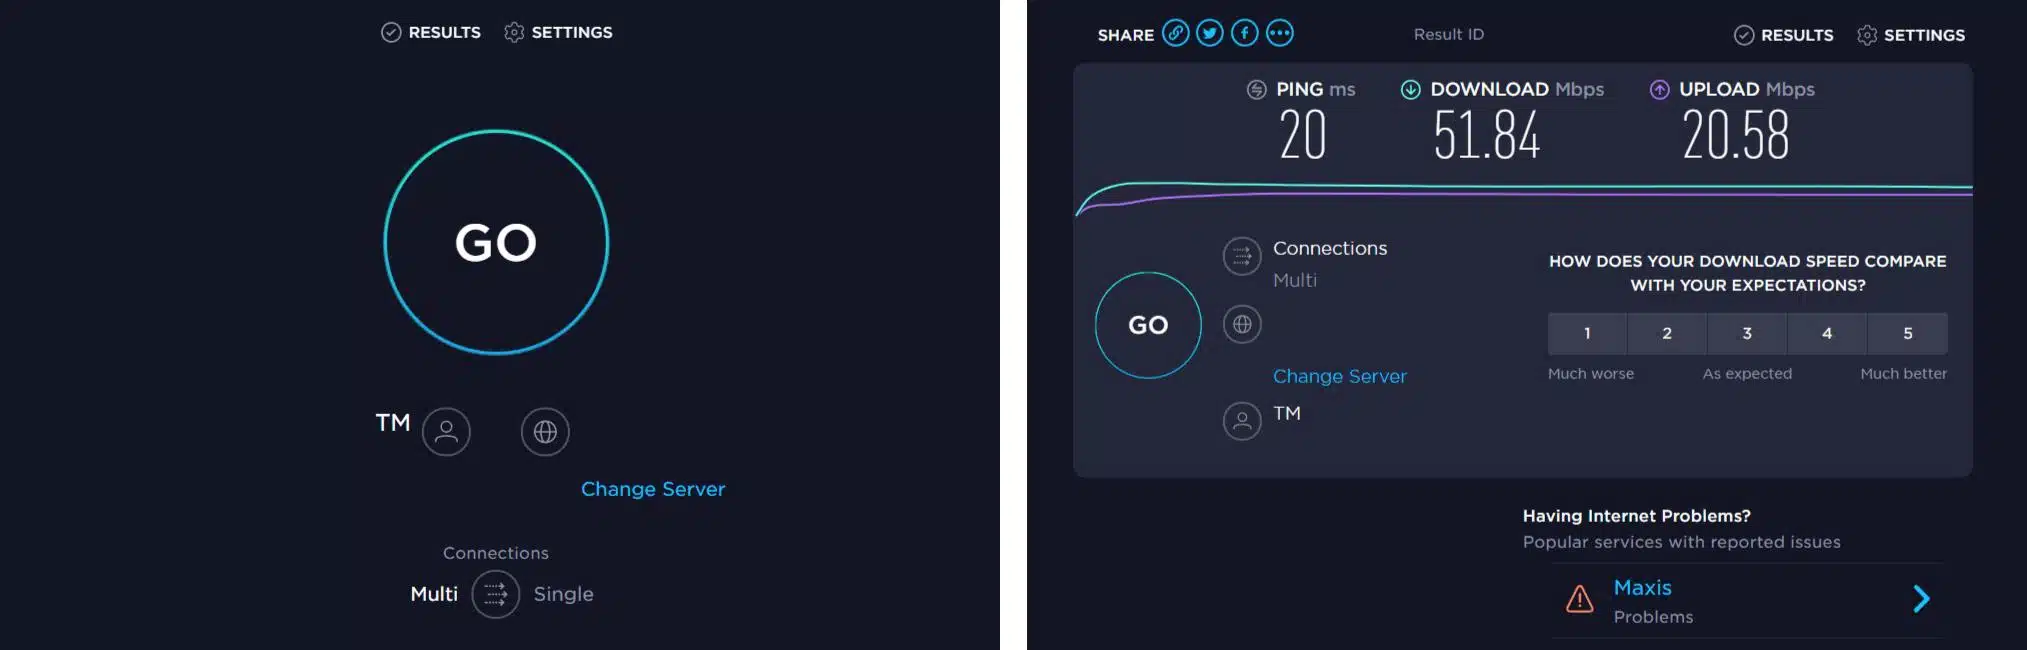
This is why you must check if your internet connection is working. You can do this by opening a simple webpage (any of your choice) or checking your internet connection speed. You can do so at Speedtest.net to determine if your internet is experiencing low download and upload speeds or high ping, indicating a poor and weak connection. From there, you can perform steps to improve your internet connection, such as power-cycling your Internet router.
2. Restarting Visual Studio Code
Restarting your Visual Studio Code application is an easy way to fix any internal errors you may face with your Live Server.
Restarting the application allows you to clear memory, causing any memory leaks or any other malfunction to fix itself by memory getting cleared. Sometimes extensions conflict, and restarting Visual Studio Code can help identify and resolve these conflicts.
You can restart Visual Studio Code by either closing the application and opening it again, or you can open the command palette and type the following command:
>Reload Window

3. Update Live Server
Extensions start to cause problems because of any bug present in a previous version, and for any reason, you can see an issue that might not have been occurring before. Thus, updating the Live Server extension might resolve any of these problems.
You can update your Live Server extension through the following steps:
- Open Visual Studio Code and go to the extensions view by clicking on the “Extensions” icon on the left-hand side of the screen.
- In the search bar, type “Live Server” and click on the Live Server extension.
- If an update is available for Live Server, you will see an “Update” button. Click on the “Update” button to install the latest version of Live Server.
- If the “Update” button is not visible, it may mean you already have the latest version of Live Server installed.
- However, if you are unsure whether you have the latest version of Live Server, you can check for updates by clicking on the “…” icon next to the Live Server extension and selecting “Check for Updates“.

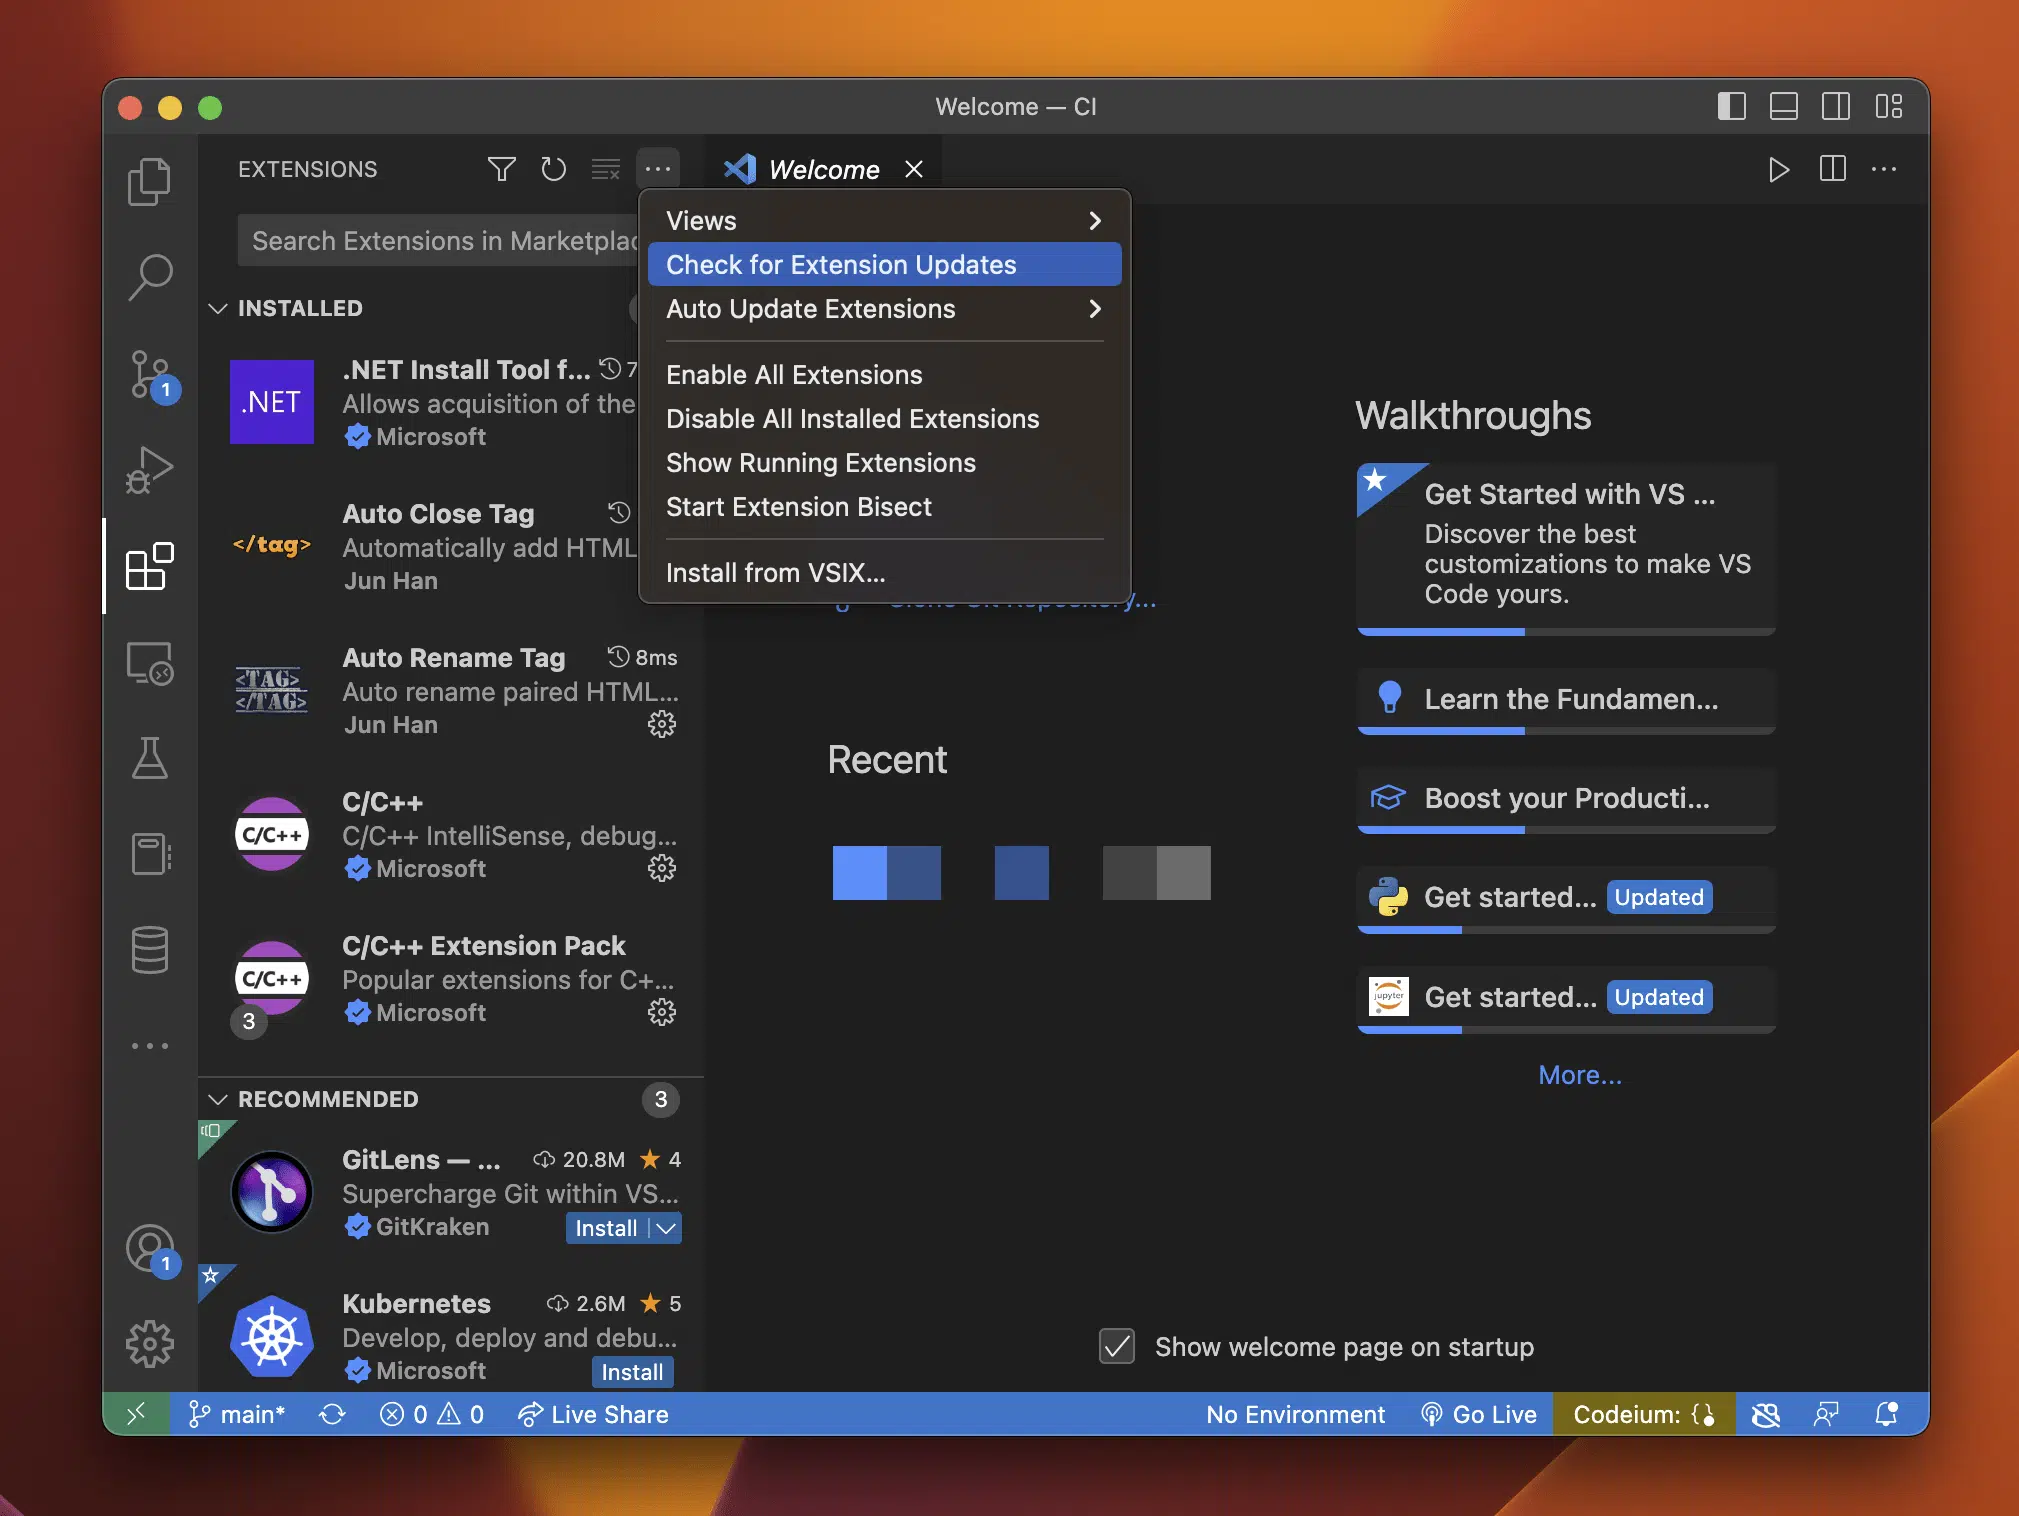
- If an update is available, you can click on the “Update” button to install the latest version of the Live Server.
Note that Live Server may also automatically update itself if you have the “Auto Update” setting enabled. To check if this setting is enabled, go to the Live Server extension settings by clicking the “Go Live” button and selecting “Settings“. Under the “Advanced Settings” section, you can check the “Auto Update” checkbox to enable automatic updates.
4. Firewall Settings
There are many reasons that your firewall settings may be affecting your live server extension not to function correctly.
Live Server must be able to connect to the internet to function effectively. However, firewalls can prevent this. Live Server won’t be able to communicate with the Live Server extension, load data from APIs, or load external resources if it can’t access the internet.
Certain firewalls can stop inbound connections to your computer, which makes Live Server unable to serve your website to other computers on your network or the internet.
To prevent this from happening, you can add an exception to your firewall to prevent it from interfering with Live Server.
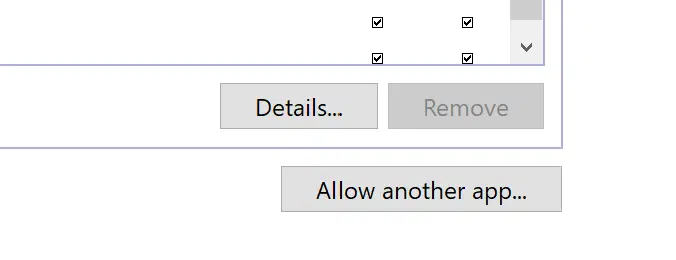
You can add the Visual Studio Code application to bypass your firewall. The specifics of how you can do this depend on your firewall, i.e., which firewall you use.
5. Clear Browser Cache
Your browser cache can be one of the reasons your visual studio code live server is not showing. Sometimes, your browser might be caching old files despite changing your file.
Your browser might also cache data that your website uses from APIs. Even if the API updates the data, your website may display old or outdated information.
You might also face trouble due to caching errors. Your browser could cache mistakes that Live Server makes when serving your website. This may result in error warnings being displayed by your browser even after the faults have been rectified.
Clearing your browser cache can help you overcome these issues. You can clear your browser cache in the settings of your browser. Typically, it is found in the clear history section of your browser settings.
For Google Chrome
The following steps are catered for Google Chrome. However, if you’re using a different web browser on Windows (Firefox, Edge), the steps are still similar:
- Open your web browser and select the “Settings” option.
- Select the “Privacy and Security” option.
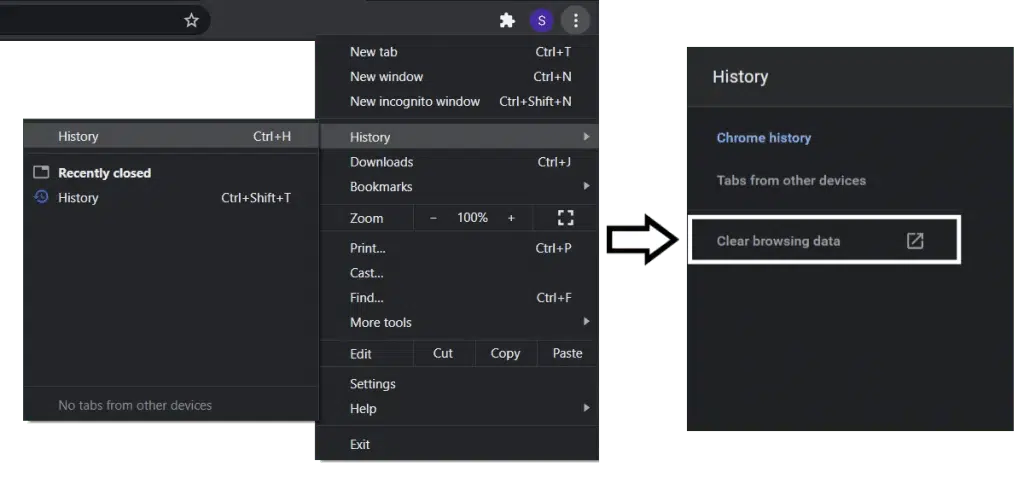
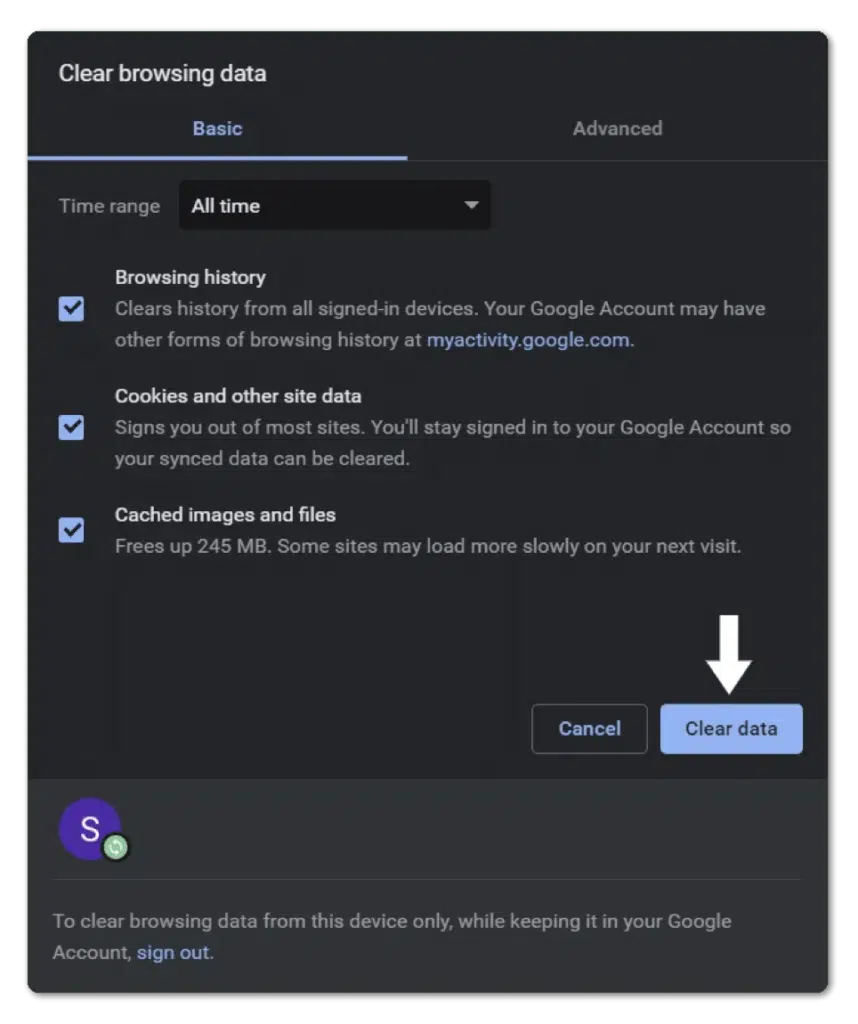
- Choose the “Clear Browsing Data” option.
- Select the “Cookies and other site data” and “Cached images and files” options.
- Select the “Time Range” option and choose “All time”.
- Click the “Clear Data” button.
- Close the browser and open it again.
For Safari (macOS)
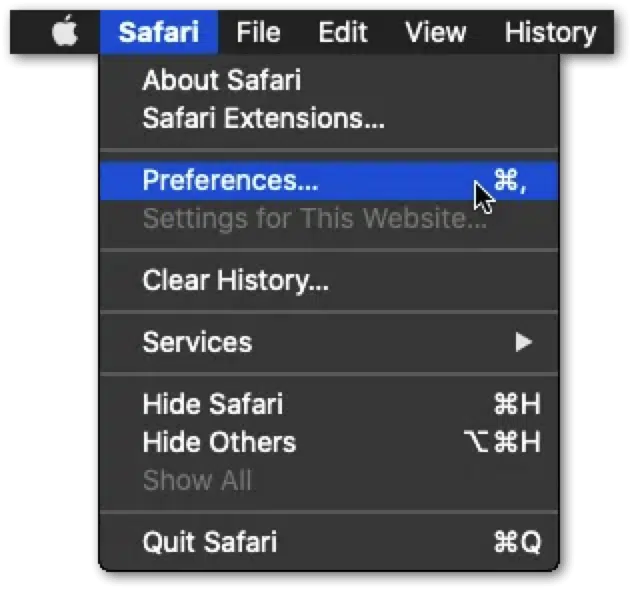
- First, with Safari launched, from the Menu Bar, click Safari and select “Preferences…”.
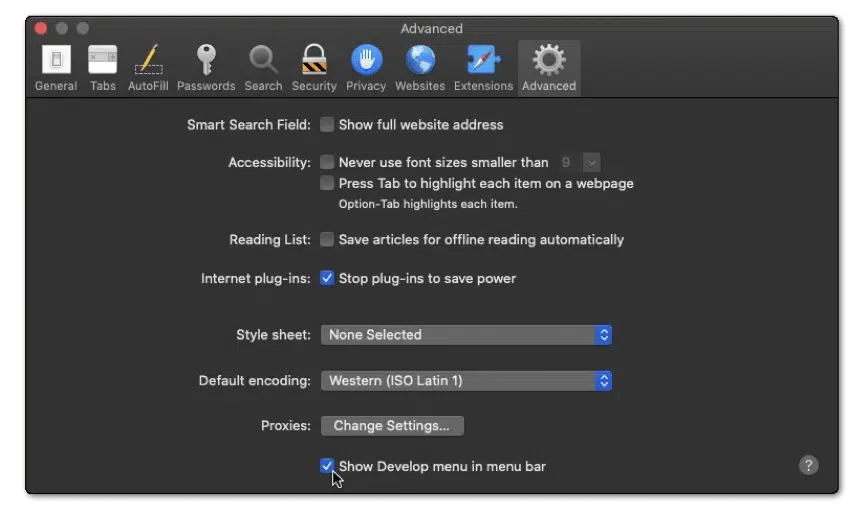
- At the following window, choose Advanced from the top bar, and tick the box next to “Show Develop menu in bar.”
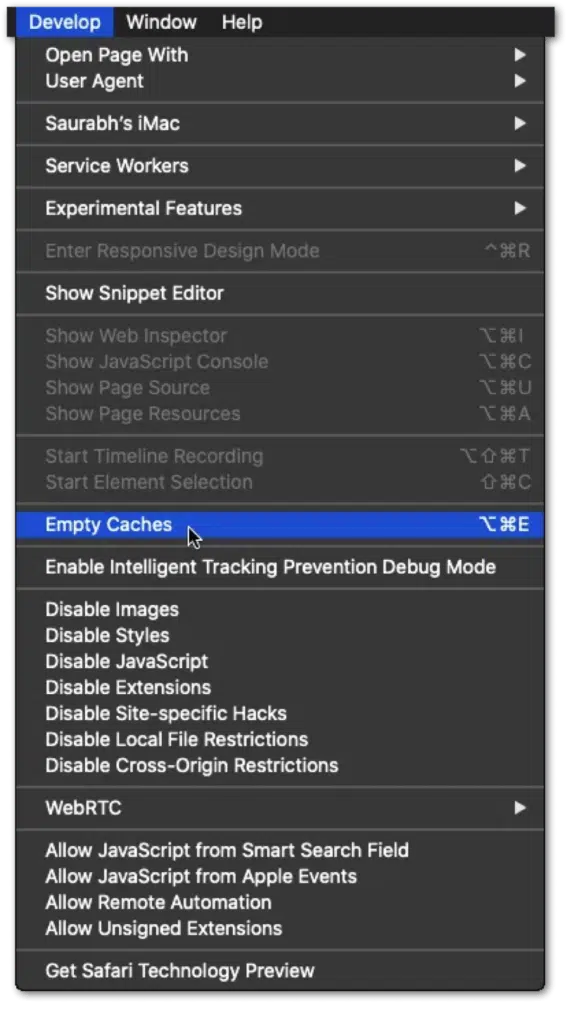
- Subsequently, from the Menu Bar, click Develop, and select Empty Caches.
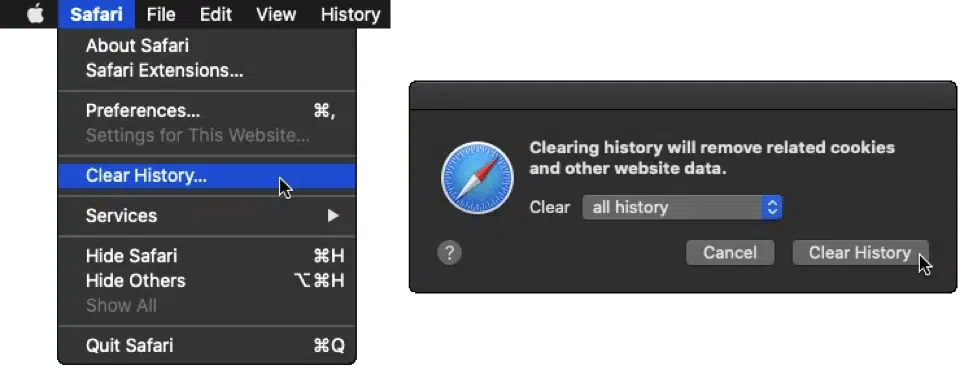
- After that, you can clear your search history and even more Site Data and Cookies. To do this, from the Menu Bar, click Safari, and choose “Clear History…”.
- Lastly, click Clear History at the following window.
6. Setting Browser For Live Server
There can be a possibility that your default browser might not be set correctly. You can follow the steps to set your browser correctly:
- Open Command Palette and type the following command:
Preferences: Open Settings (JSON)

- In your settings.json file, scroll to the bottom and add a comma, after which add the following line:
"liveServer.settings.CustomBrowser": "<browser name>"
In the above line, in the <browser name> section, add the name of your browser and save the file.
7. Conflicting Extensions
It is possible for extensions in Visual Studio Code to conflict with each other, including the Live Server extension. Hence, another possible cause for the Visual Studio Code live server not working as expected.
Extensions can conflict in different ways, such as overriding functionality. If two extensions provide similar or overlapping functionality, they may conflict if they both try to modify the same files or settings.
Another way can be when two extensions use different versions of the same dependency, which may conflict if the versions have compatibility issues.
You can avoid such problems by disabling all the extensions and enabling them individually to check which extension causes the Live Server not to work.
8. Live Server Settings
The behavior of the Live Server extension can be affected by the Live Server settings in Visual Studio Code in a number of different ways. The Live Server extension has a number of parameters that let you customize the extension’s behavior in different ways.
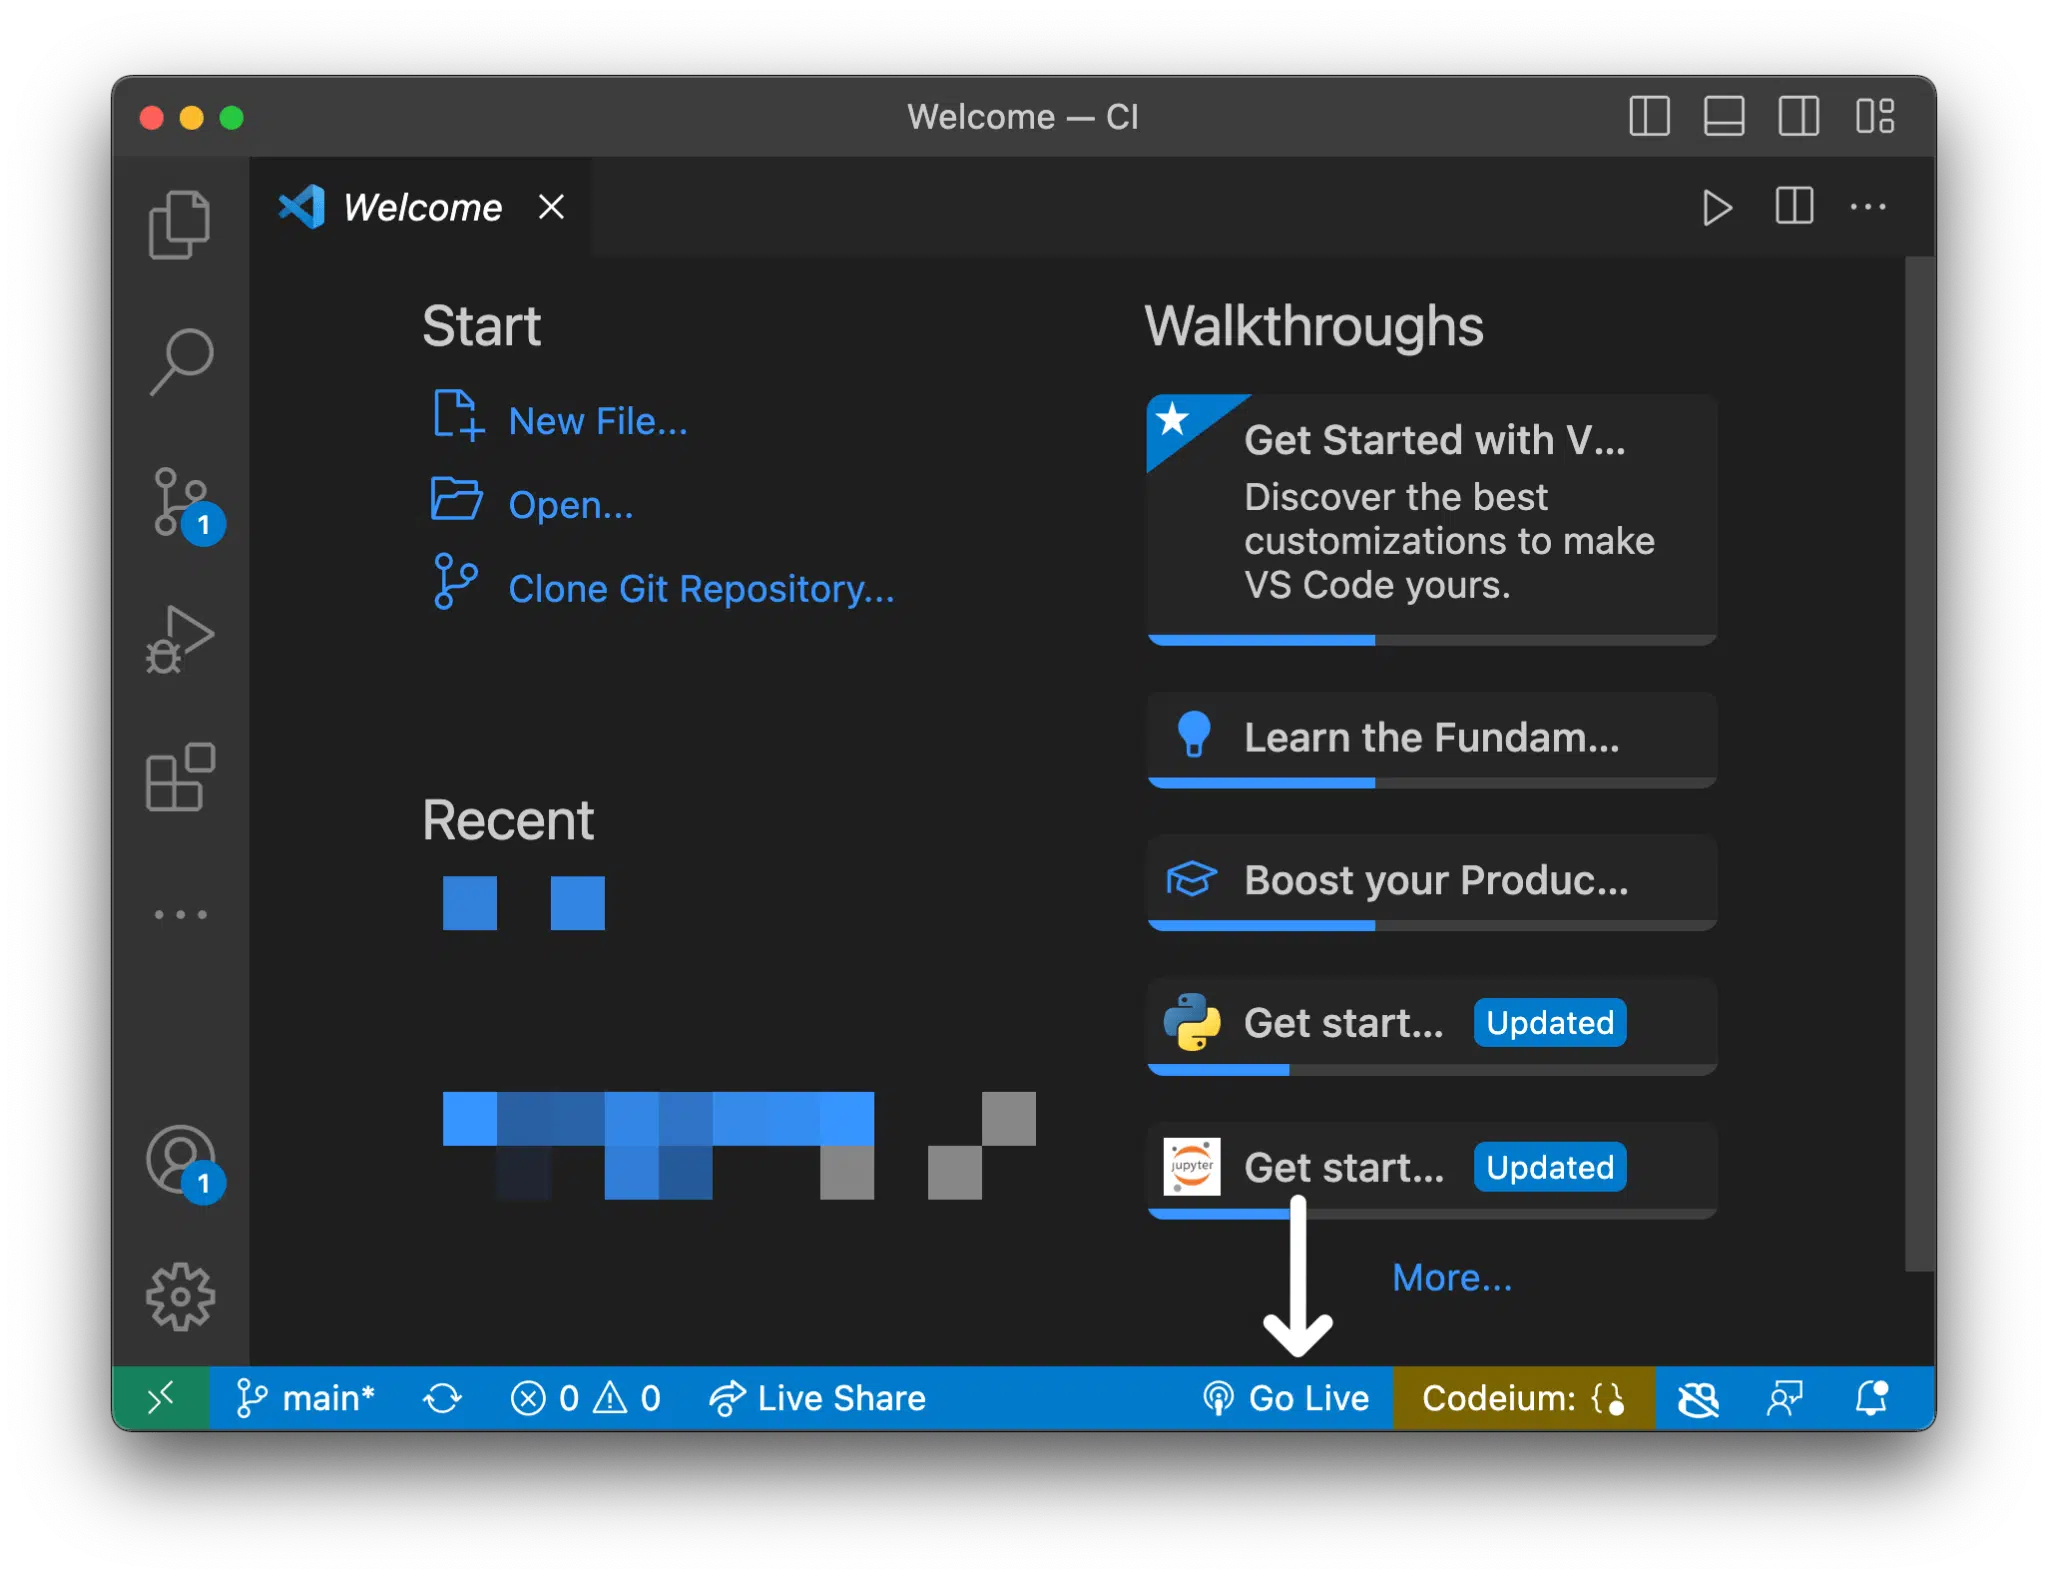
Make sure that the Live Server settings are properly configured. You can access the settings by clicking on the “Go Live” button and then clicking on “Settings” at the bottom of the browser.
Various settings can impact the correct working of the Live Server extension. For example, if another process or service already uses the port number specified in the Live Server settings, Live Server may not be able to start.
Another reason can be that if you have enabled HTTPS support in the Live Server settings, but your website does not have a valid SSL certificate, or the browser does not support HTTPS, Live Server may not be able to serve your website over HTTPS.
All of these settings can be changed in the location described above.
Conclusion
All the solutions described above will help you troubleshoot your problem as to why your Visual Studio Code Live Server extension is not working. Most of these problems should fix the issues for you, and your extension should run quickly.
If you are still facing problems, uninstall the Live Server extension and reinstall it on your Visual Studio Code.
Lastly, let us know in the comments:
- Were you also unable to fix issues with your Live Server?
- Did any of the solutions work for you?
- Is there any missed solution you would like to add to the list?
Feel free to share this article with any of your fellow developers!