
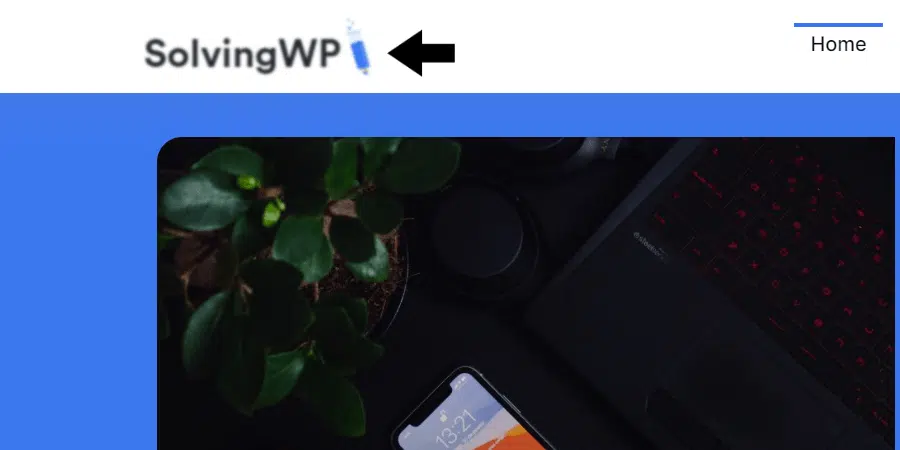
Feel as if your WordPress website’s logo appears blurry, pixelated, or grainy on desktop and mobile browsers?
Every website needs a clear and crisp logo, whether on the main header or mobile header. It’s one of the first things a site visitor sees when landing on your page. A logo is the most important identifier for your website, reflecting your brand and company image in many cases.
So, you can’t deny, these little things can add up to your overall website look and design. By looking at other professional sites and even your competitors, you can see that most have a clean-cut logo.
Nonetheless, it’s relatively common for site admins to rack their brains over a blurry logo on their website 🤔.
What’s even more puzzling is when your website logo is only blurry on a particular device or web browser.
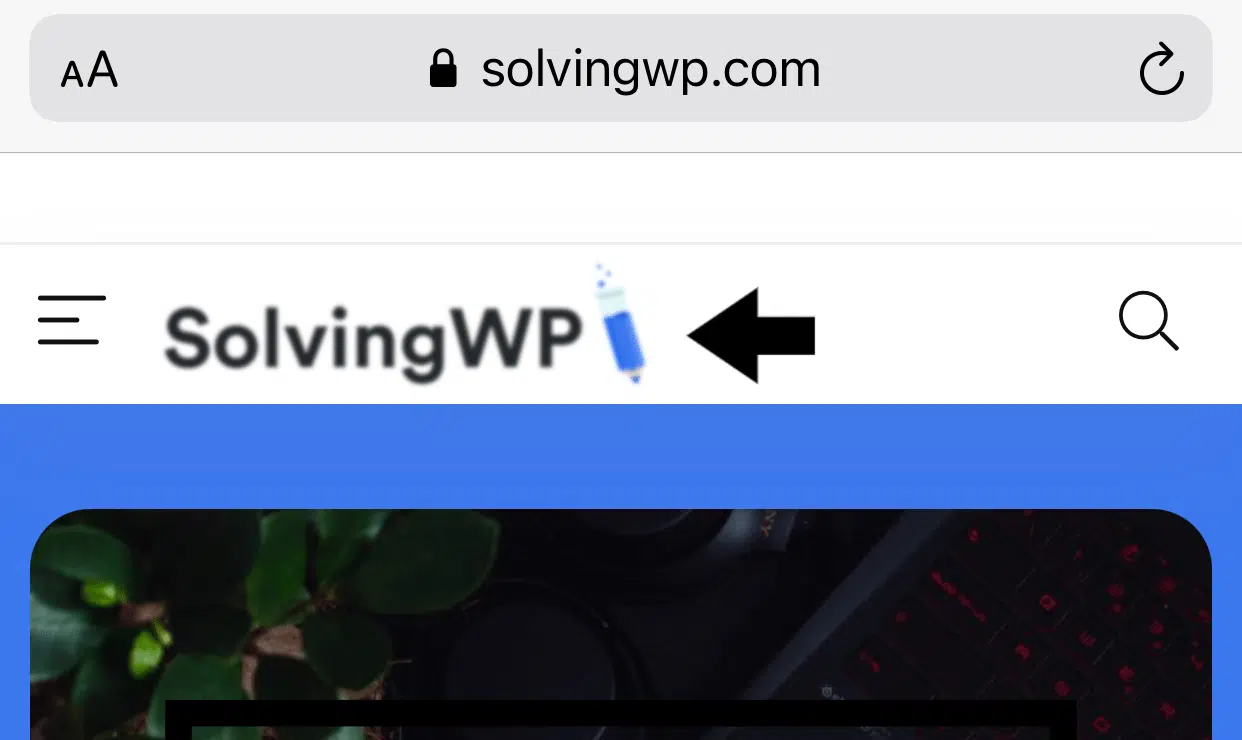
Usually, this can give off an impression of a low maintained website to the site visitor.
Therefore, we prepared this guide of 5 fixes to improve your WordPress logo’s resolution and quality and resolve blurry or pixelated logo issues.
Thus, no matter which browser or device a site visitor uses, they should be able to see your intended logo crystal-clear 💎.
Let’s jump right into the steps.
Table of Contents
1. Disable Any Image Optimisation Plugin For The Logo.
We’ll start off simple by checking if any of your default settings or plugins are responsible for your blurry logo. Usually, the leading cause is the image optimization plugin. So, you may have forgotten to disable this plugin for the logo you’re uploading.
Basically, these image optimization plugins are useful if you’re in need of compressing the images on your webpage. We generally recommend to our clients that one of the best investments they can make for their site is to go for the best image compression plugin.
However, sometimes you may opt for other third-party image optimization plugins, whether as a personal choice or even perhaps that your web host advises against using a certain optimization plugin due to compatibility issues.
With that said, you should exclude image optimization or compression for the logo. This is the simplest way to keep your image optimization running whilst also ensuring it doesn’t affect images like your logo from being blurry.
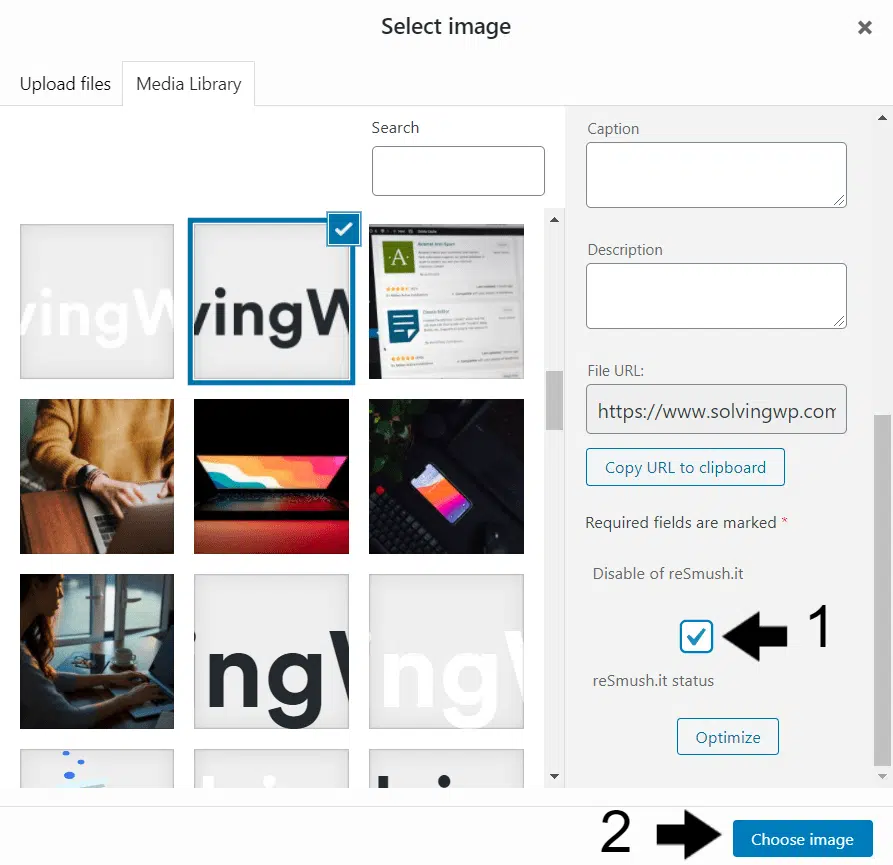
- For this, when choosing your logo at the Customizer, you’ll be on the Select image window.
- Here, tick the “Disable image optimization“ checkbox on the right pane.
- After that, click Choose image to re-upload the logo image.
2. Use an SVG Image
Logo images are usually created in an SVG (Scalable Vector Graphics) format rather than a raster format like PNG or JPEG. This is because raster images have a fixed set of pixels. So, even if you enlarge it, the number of pixels stays constant, but the resolution appears lower.
Whereas vector images, such as SVGs, can be infinitely resized to be bigger or smaller without losing their quality and resolution. Thus, no matter your device’s screen size or the type of web browser that is in use, the logo will preserve its high quality.
So, you might be wondering, why not make every image in SVG then?
Well, large SVG images can have larger file sizes. Hence, it’s better to use SVG images for smaller and less complex images like your site logo.
Also, it’s better to create an SVG image in a smaller size, then resize it bigger using CSS to fit your ideal logo size on the header.
With that said, we split up the workflow of using your SVG logo into a few steps:
Step 1: Create your logo in an SVG format.
First, to create an SVG logo, you can use tools such as Adobe Illustrator, InkScape, or Canva. Most of the time, we use Canva since it’s simpler to use and it’s mostly drag-and-drop, but you’ll need the Premium plan.
![]()
If you need a free alternative, InkScape gets the job done as well.
![]()
Alternatively, if you’ve hired a professional logo designer, usually they’ll provide your logo in a set of different formats. They may provide you with both raster (PNG or JPEG) and vector formats (SVG, EPS, AI). If not, you can try contacting them for a copy.
Step 2: Upload your SVG logo to WordPress.
By default, if you try uploading an SVG image to WordPress, you’ll be halted by the following error message:
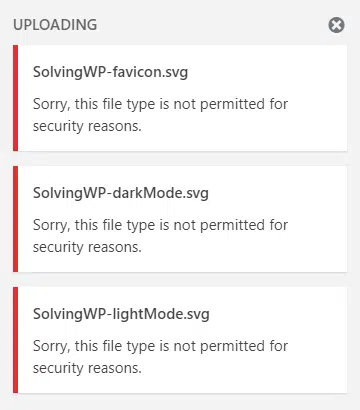
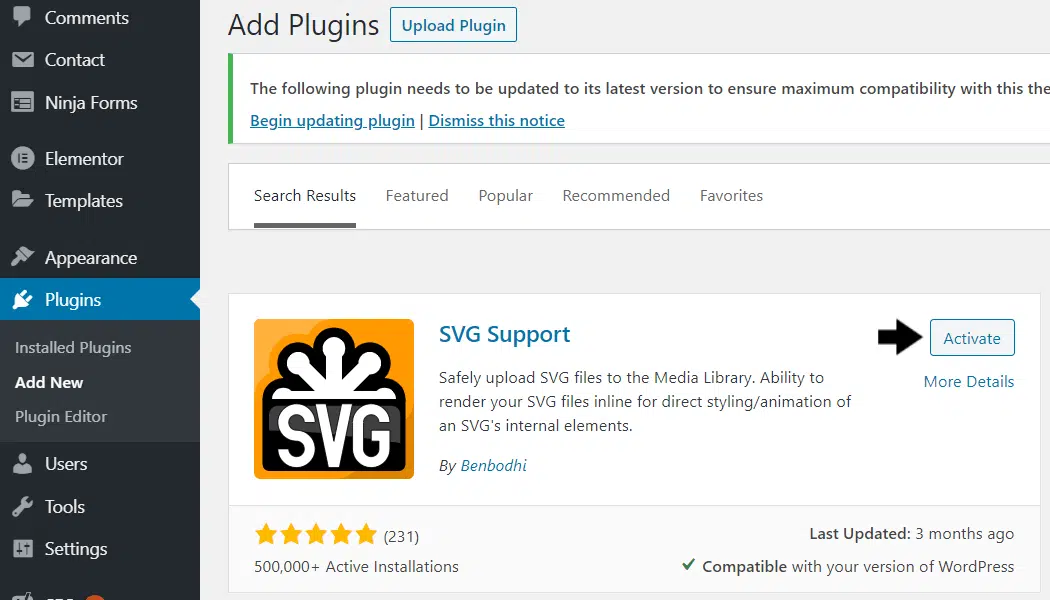
This error is basically a security measure by WordPress to prevent any malicious XML code from being uploaded and compromising your website. Therefore, you can install and activate the SVG Support plugin to “sanitize” the code and bypass this security alert. Thus, ensuring a smooth and error-free upload.
At the same time, you can configure the settings to ensure that only you, the admin, can upload such SVG images.
To configure the plugin security settings:
- First, from the WordPress dashboard, at the Settings menu, select SVG Support.
- After that, tick the box next to “Restrict to Administrators?”.
- Finally, click Save Changes.

Once you’re done with that, you’ll be able to use SVG images, including your logo, without compromising your website security 🛡️.
Now, simply return to the Logo section of the Customizer, and try uploading your logo file again.
Then, at the Additional CSS section, enter the appropriate CSS code to resize your logo to your desired height and width.
.logo {
    max-height: 100% !important;
    height: Apx !important;
    width: auto !important;
}
You can replace “.logo” with the correct selector, which you can find through Inspect Element.
Also, you can replace A with your desired height for the logo. You can test to find your ideal logo size through Inspect Element as well.
3. Recreate The Logo In A Larger Size or Use Retina Logo.
You might find that certain WordPress themes don’t support and allow you to upload SVG images even after using the SVG Support plugin. That being said, you can still have your website logo in a raster format like PNG instead.
For this, you’ll need to create and upload a raster image with twice the size of the intended logo size. After that, you can resize it down to that desired height or width using CSS or an option in your Customizer (Step 2).
Doing this gives you a clearer and crisper image of your website logo, despite it being a raster image.
This is also known as an HDPI or Retina logo. To be more specific, Retina screen devices, like Macbooks, use twice the number of physical pixels to display an image. So, a logo with a lower amount of pixels will have lesser resolution and appear blurry on these devices.
Therefore, if you see a second input space in your theme’s Customizer for an HDPI or Retina Logo, it’s for the same logo but twice the size. You can take this a step further by uploading an image that’s 3X or 4X the size as well, but be wary of the file size.
So, how can one create or save their logo in a raster format?
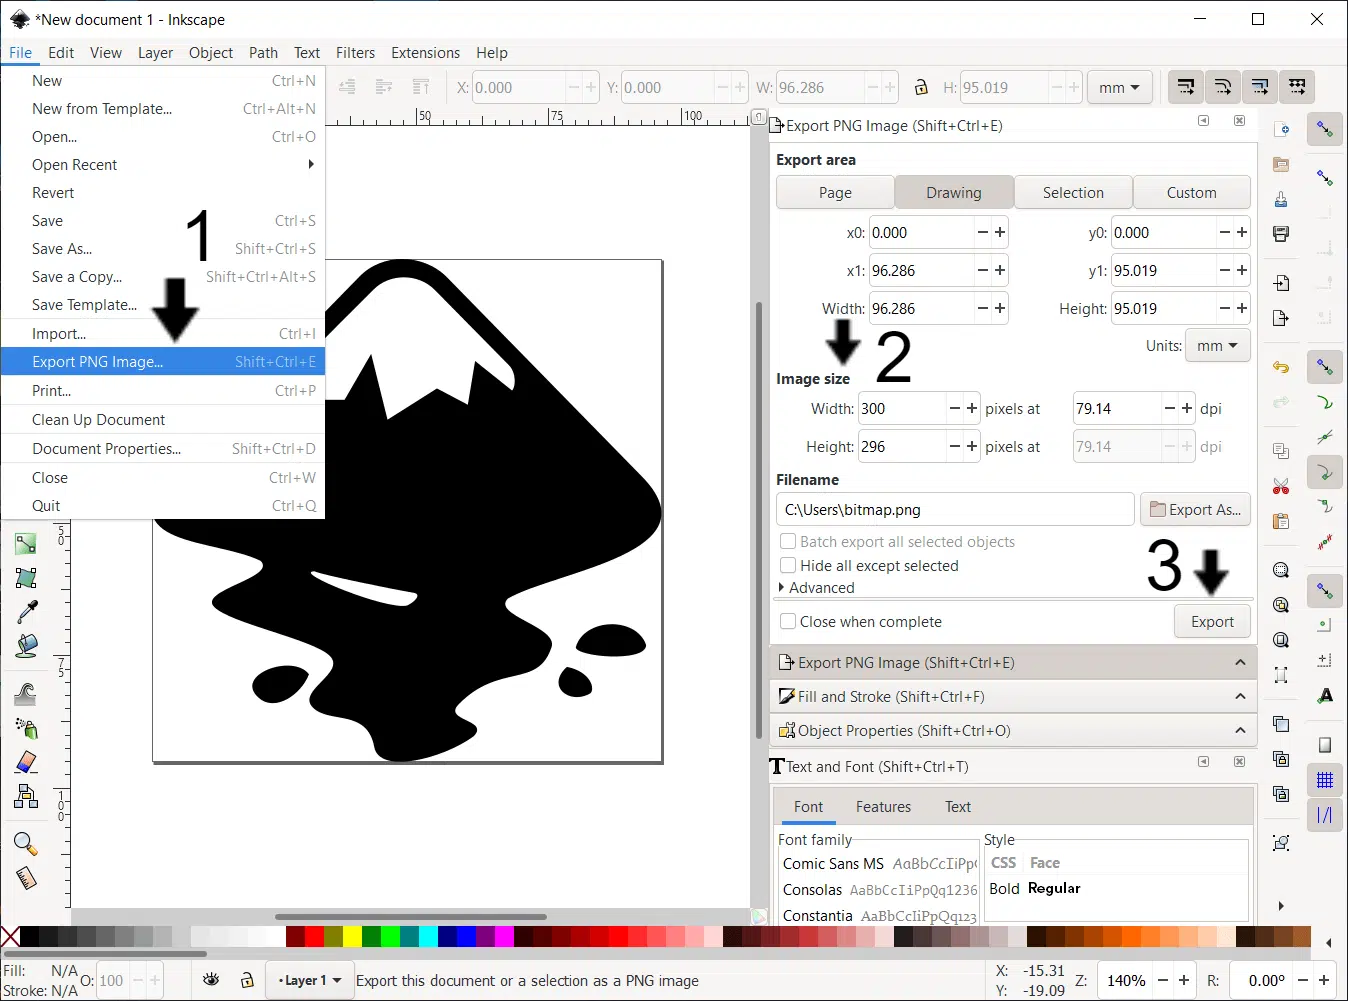
There are online converters you can use to convert your SVG logo to PNG or JPG. For us, we usually go with Inkscape, which allows you to create your PNG logo to your desired height and width.
To use Inkscape to resize your logo:
- First, upload your logo file to Inkscape, or you can drag and drop it.
- After that, press Ctrl + Shift + R keys to select your logo.
- Then, either press Ctrl + Shift + E or click File and Export PNG Image.
- Next, on the right pane, you can choose your desired image width and height.
- Finally, click Export.
Once you’re done with that, you can try uploading the newly-exported image as your website logo.
4. Use a Different Image Format (EPS, AI, PNG, JPEG)
Another workaround that’s been effective for other site admins, is uploading the logo in a different file format. Perhaps using the same image but in an alternate format might be the right fix for your blurry logo on WordPress.
Image Formats Suitable for WordPress Website Logo
- Vector images – SVG, EPS, AI
- Raster images – PNG, JPEG
Method 1: Using Vector Images
For this, if your SVG image wasn’t uploading, you can also try other common vector formats, like EPS and AI.
Step 1: Converting an SVG logo to EPS format.
For starters, to create or convert a logo to another vector format, we recommend either using an online converter or saving through Inkscape. See which method seems the simplest for you.
To use Inkscape to save your SVG logo in a different vector format:
- First, upload your logo file to Inkscape, or you can drag and drop it.
- After that, press Ctrl + Shift + R keys to select your logo.
- Then, click either press Ctrl + Shift + S or click File and Save As.
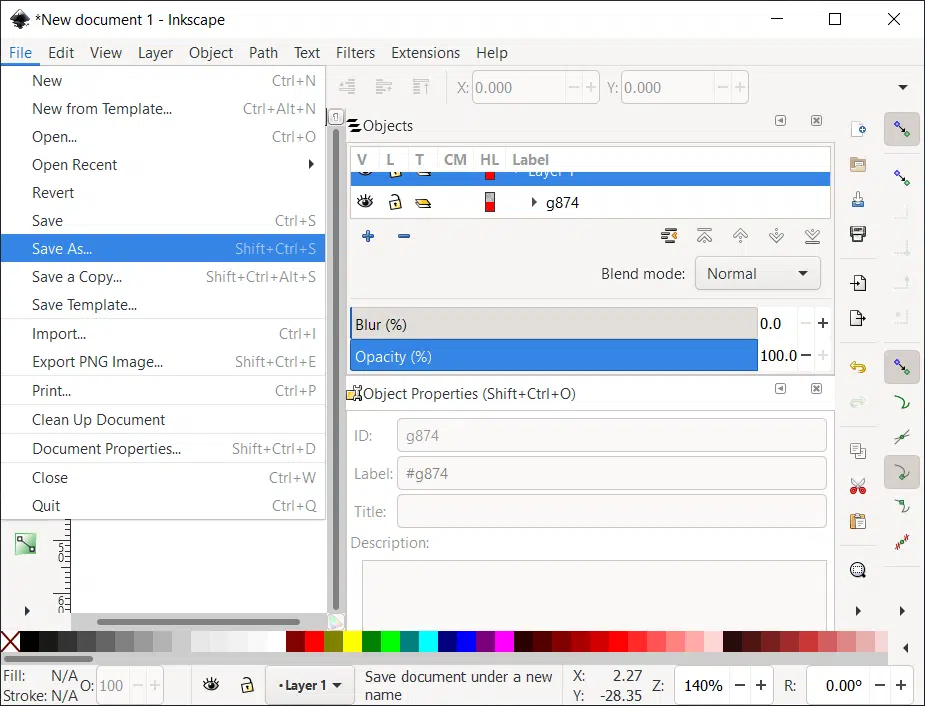
- On the following window, under Save as type, find and choose .eps.
- Finally, click Save.

Step 2: Uploading a Vector Image on WordPress.
Just like for SVG images, you’ll receive the same error message when uploading these vector images as well.
Therefore, you’ll have to install and activate the WP Extra File Types plugin before uploading your vector images.

By using this plugin, you can upload a broader range of file formats on your site. Similarly, like before, this plugin bypasses the security check when you’re uploading these files in these formats. So, within the plugin settings, you can tick which file formats you’ll need to allow.
Once you’re done uploading, we recommend deactivating and deleting this plugin to improve your website security.
Method 2: Using Raster Images
As mentioned previously in Step 2, raster images are less preferable than vectors, since they typically have lower resolution. However, you can still use raster images, like PNG, if your theme doesn’t support any vector format.
Therefore, if you don’t have a raster copy of your logo, you can either use an online image converter or save it using Inkscape (Step 4).
Perhaps you find that your WordPress logo’s font isn’t showing correctly on mobile. In that case, you can choose the raster copy specifically for mobile devices in the Customizer.
5. Contact Your Theme Support.
All in all, if you continue to experience issues with your blurry WordPress logo, then it’s best to first reach out to your theme’s support rather than hiring a third-party developer straight away.

Now, this of course, doesn’t apply to everyone as not all WordPress websites are designed using themes such as Astra, Elegant Themes, or any third-party pre-made themes from ThemeForest.
However, the vast majority of WordPress sites we’ve worked to optimize are designed using pre-made themes, and more often than not, such issues like this are far more common than you’d think.
For Pre-Made Themes from Providers
If you’ve bought your theme off a site like Envato’s Themeforest, you will have to go to the official theme author’s page and get in touch with them. Take note you may need to purchase or renew your support license in order to get support issues addressed.
On the other hand, if you’ve bought your theme from a provider like GeneratePress, StudioPress, or Elegant Themes, they offer free, yearly customer support, which is renewed annually.
For Custom Themes
Now, what do you do if you’ve not bought your theme and instead you developed it or have someone else create it for you?
Well, in that case, it’s best to reach back to your theme developer 👨💻 that created the theme for you to see if the issue can be traced back.
Conclusion
To sum up, this guide shows you five workarounds when your WordPress website’s logo appears blurry or pixelated.
Finally, after each step, try checking the logo if it appears clearly on all the major web browsers (Chrome, Firefox, Edge). Also, make sure you can see the logo on your mobile device’s browser as well.
At the same time, remember to clear your page and server cache before checking your logo. Otherwise, you might keep getting shown the cached version of the website instead.
That being said, don’t let all that time and care you put into crafting your beautiful logo go down the drain. With these steps, you can ensure your logo preserves its quality for time can tell.
Lastly, we’ll love to hear from you in the comments:
- Does your WordPress website have a blurry or pixelated logo?
- Did you find any of the above workarounds useful?
- Do you have another fix we can add to the list?
Feel free to share this post with someone you know who has a WordPress website with a blurry logo.