
Do you want to know how to install OpenCV or CV2 for Python? This guide shows just that, and it’s perfect for whether you’re using Anaconda, Spyder or Visual Studio Code.
OpenCV or Open Source Computer Vision Library is an open-source software library used for computer vision, image processing, and machine learning. It’s written in C++ and comprises over 500 algorithms and thousands of functions that help support those algorithms.
Therefore, it’s a widely-used library by individuals and corporations alike, mainly because it enables them to focus on building real-world applications relating to computer vision, image processing, and machine learning without starting from square one. This is thanks to OpenCV’s large number of algorithms and functions.
Furthermore, there are many advantages to using OpenCV, one of them being its hardware optimization capability. OpenCV uses multi-core processing and OpenCL to its advantage which may allow for hardware acceleration. However, OpenCV also has disadvantages, including being slightly less beginner-friendly due to its lack of documentation.
Overall, OpenCV is a powerful and useful library that is used by millions of people around the world. Plus, it can be very useful to people who are interested in the fields of computer vision, image processing, and machine learning.

That being said, OpenCV doesn’t come pre-installed with Python, which means you’ll have to install it yourself. You need to have Python and PIP installed on your system before installing OpenCV for Python. Else, you need to have Anaconda installed if you wish to install it there, especially for the Spyder IDE.
In this guide, we’ll go over how to install OpenCV in Anaconda and also in Python and how you can start coding with it in Spyder and Visual Studio Code.
Table of Contents
Installing OpenCV in Anaconda
Before following these steps, ensure that you have Anaconda installed on your system. If you don’t, you can find the steps to install Anaconda and the installation file from their official documentation here.
In order to install OpenCV in Anaconda:
- First, open the Anaconda Prompt.
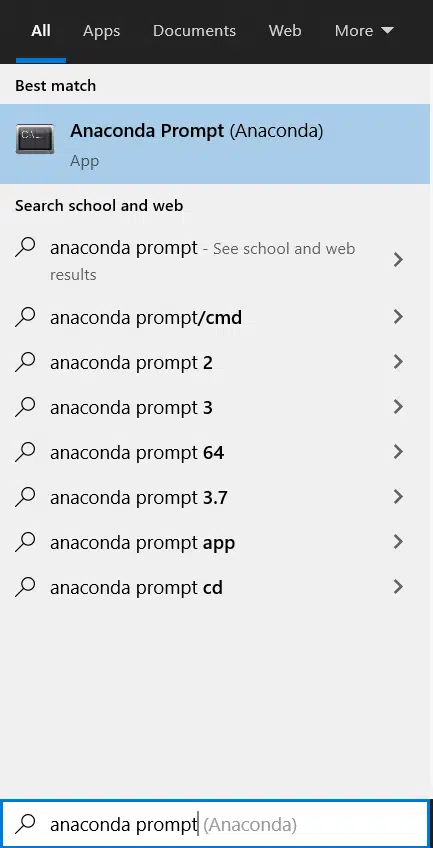
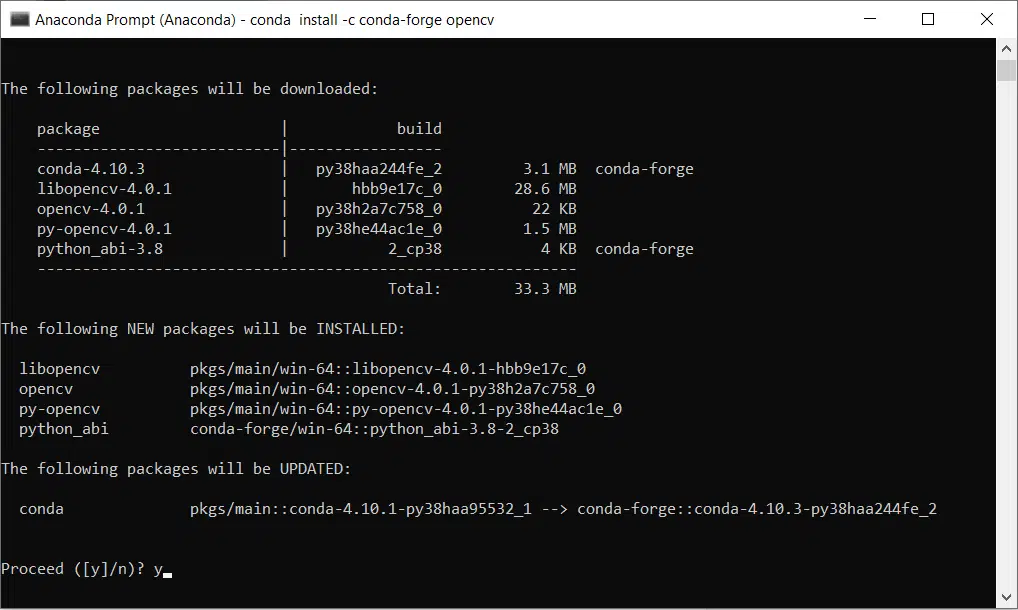
- Next, enter the following command:
conda install -c conda-forge opencv
- Once entered, you should see the following output in your terminal. When prompted, enter y to proceed with the installation.
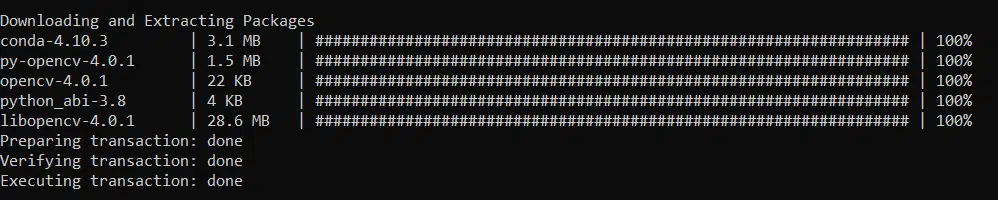
- Your installation should be complete once you see the following messages:
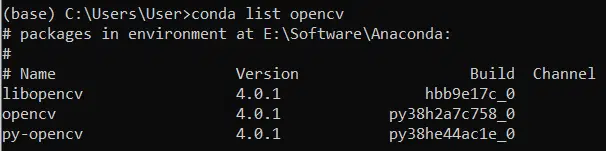
- Then, verify if OpenCV is installed in Anaconda by entering the following command:
conda list opencv
- If you see the following output, well done! OpenCV has been successfully installed in Anaconda.
Using OpenCV in Spyder
Spyder is an open-source and cross-platform IDE (Integrated Development Environment) built for Python. Spyder comes installed with Anaconda and can be used to develop programs with OpenCV.
Once OpenCV has been installed in Anaconda, you can proceed to use it in Spyder.
- First, open Spyder.
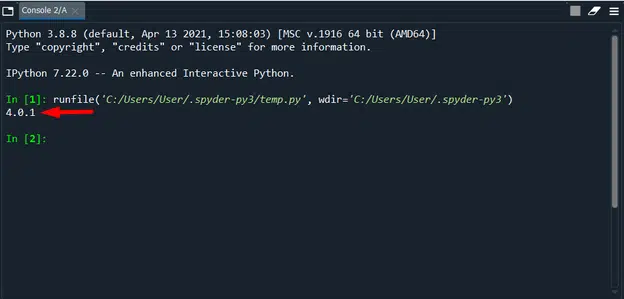
- Next, enter the following two lines of code:
import cv2

print(cv2.__version__)
- You should see the following output indicating the version of OpenCV in the Spyder console:
You can now proceed to code all sorts of programs with OpenCV and Python in Spyder!
Installing OpenCV in Python
In order to install OpenCV in Python:
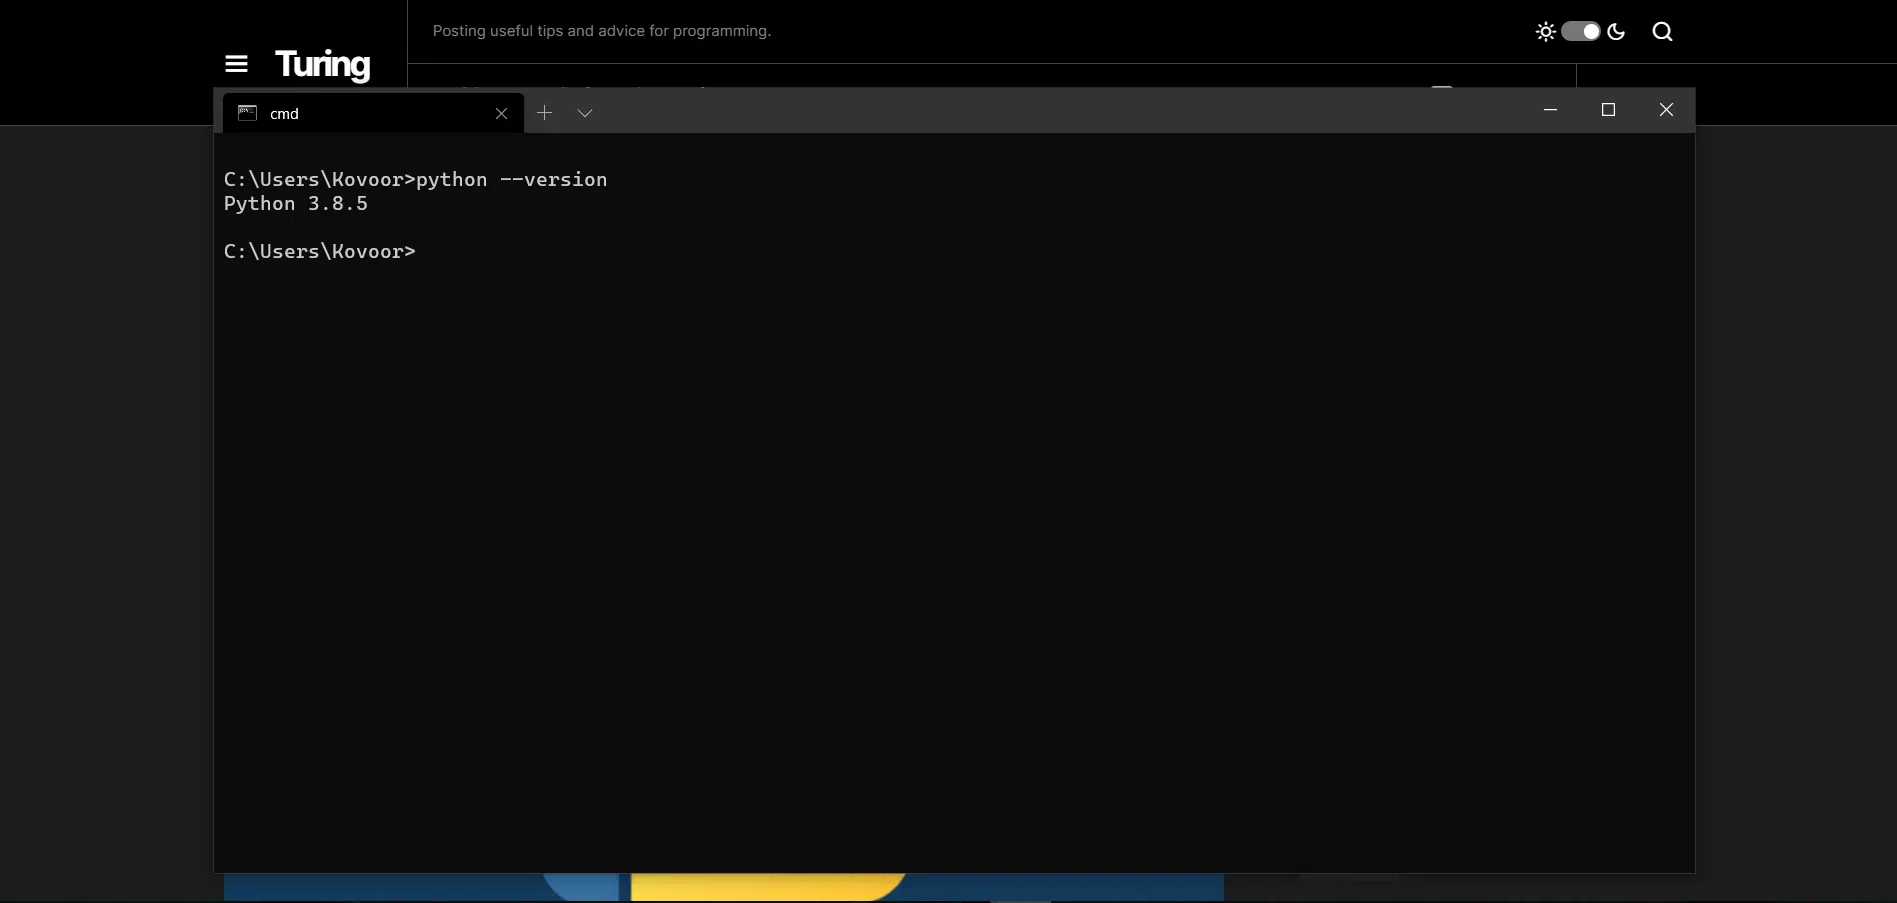
- First, verify if python is installed on your system by opening the Command Prompt and entering python –version.
If python is installed on your system, the version will be displayed. Else, if you don’t have python installed, you can download its installation file from Python’s Downloads page and proceed to install it for your device.
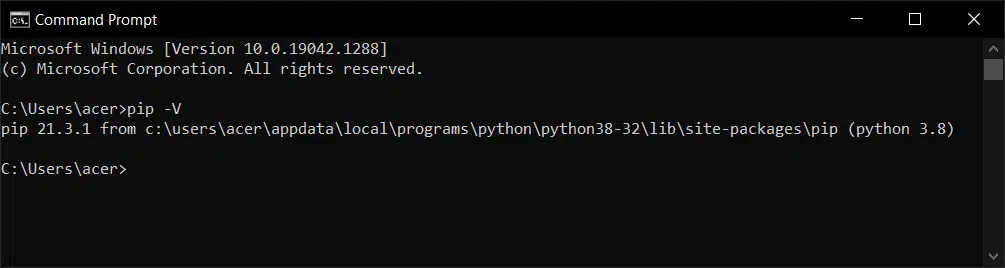
- Secondly, verify if pip is installed on your system as we will be using pip to install OpenCV. So, enter pip -V in the command line.
Again, if pip is installed, the version will be displayed. Else if you don’t have pip installed, you can learn how to install it here.
- Thirdly, install OpenCV by entering pip install opencv-python in the command line. Once OpenCV has been installed, you will receive the following confirmation message:
![]()
- Lastly, enter import cv2 in the Python Terminal once OpenCV has been installed to verify if it works. There should be no error message shown once imported.
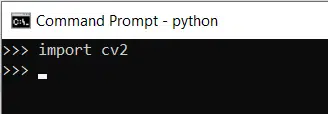
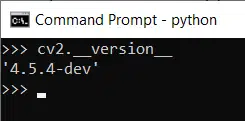
- Additionally, you can also enter cv2.__version__ to check the version of OpenCV you have installed on your system.
Using OpenCV in Visual Studio Code
Visual Studio Code is an IDE that can also be used to develop OpenCV applications or programs using Python. As you might’ve figured, Visual Studio Code does not come preinstalled with Python or OpenCV. So, if you don’t have it on your system, Visual Studio Code can be installed from here.
Once OpenCV has been installed in Python, you can proceed to directly use it in Visual Studio Code by importing its cv2 package:
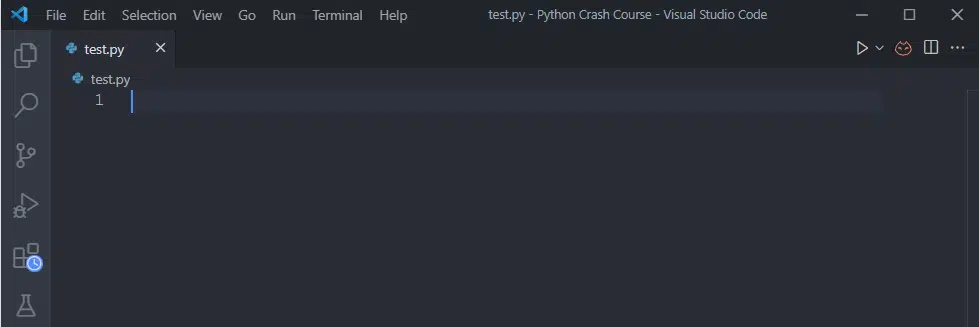
- First, open VS Code and create a Python file. For this example, I will be using a file labelled test.py.
- Similar to the Spyder example listed above, enter the following lines in the Python file:
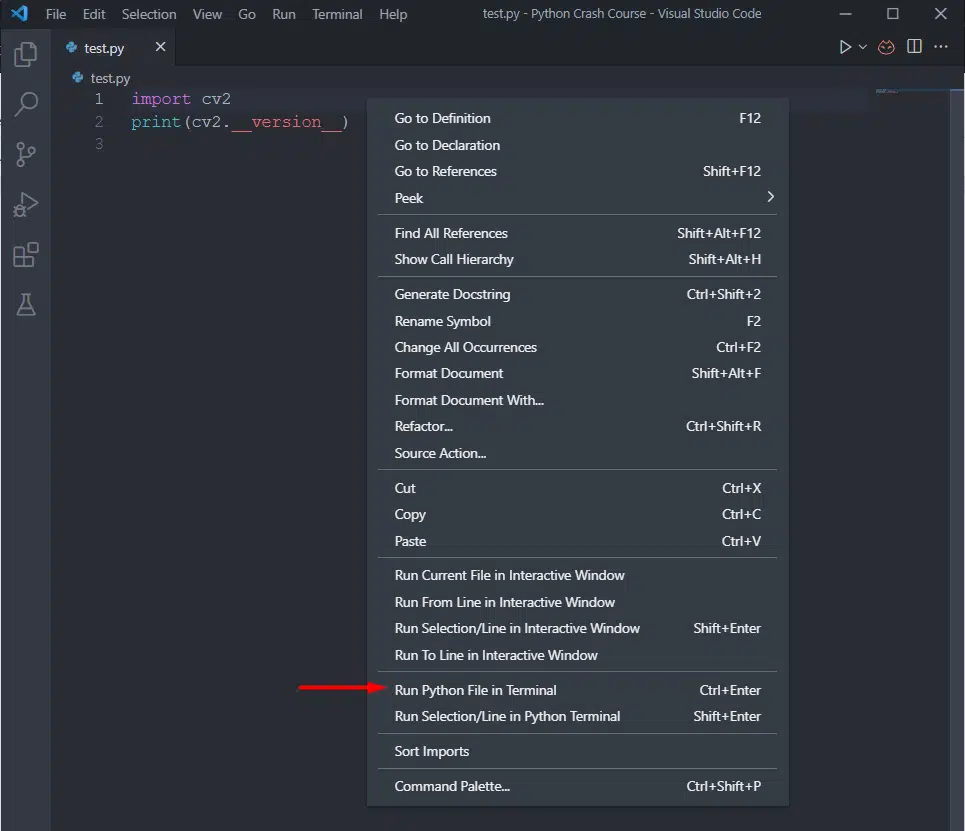
import cv2

print(cv2.__version__)
- Press Ctrl + S to save the file and then right-click anywhere on the file to bring up the context menu.
- Click on the “Run Python File in Terminal” option.
- Then, if it was installed successfully, you should see an output indicating the version of OpenCV in the integrated Python terminal at the bottom of VS Code:

- You can now proceed to code freely with OpenCV and Python in VS Code.
Conclusion
Learning how to develop computer vision, image processing, and machine learning applications using Python can be a huge boost to your expertise as these fields have never been in more demand!
There are many reasons why someone may want to develop applications using OpenCV. These include wanting to add on to their programming skills, bringing an idea they have to life, trying to enter the in-demand field of Artificial Intelligence, and many more. Plus, learning OpenCV can be very helpful when it comes to increasing someone’s job prospects and employability.
With that being said, in this article, we looked at how to install OpenCV in Anaconda and Python. Additionally, we also looked at how you can start using OpenCV in Spyder and VS Code.
Having said that, we hope you’ve found this guide helpful when it comes to installing OpenCV in Python or Anaconda and starting to code using an IDE.
Feel free to share this post with your fellow coders to guide them through installing OpenCV and getting started coding with it!